Sawhorse 1
by Julien Loiseau
Building a Sawhorse - Starting the Journey into Traditional Woodworking
Introduction
Woodworking begins with the fundamentals, and what better way to start than by building a sawhorse? This is a simple yet essential project, forming the backbone of many future builds. For this project, I decided to take a hybrid approach, using woodworking machines only to prepare the wood but relying entirely on hand tools for joinery and assembly. No screws, no nails, just wood holding itself together.
I designed the plans myself, drawing inspiration from various sawhorse models I found online. My goal is to document this process step by step, sharing what I learn along the way. I hope this can be a space for discussion and improvement rather than a strict guide.
Tools & Materials
At this stage, my hand tool collection is fairly modest:
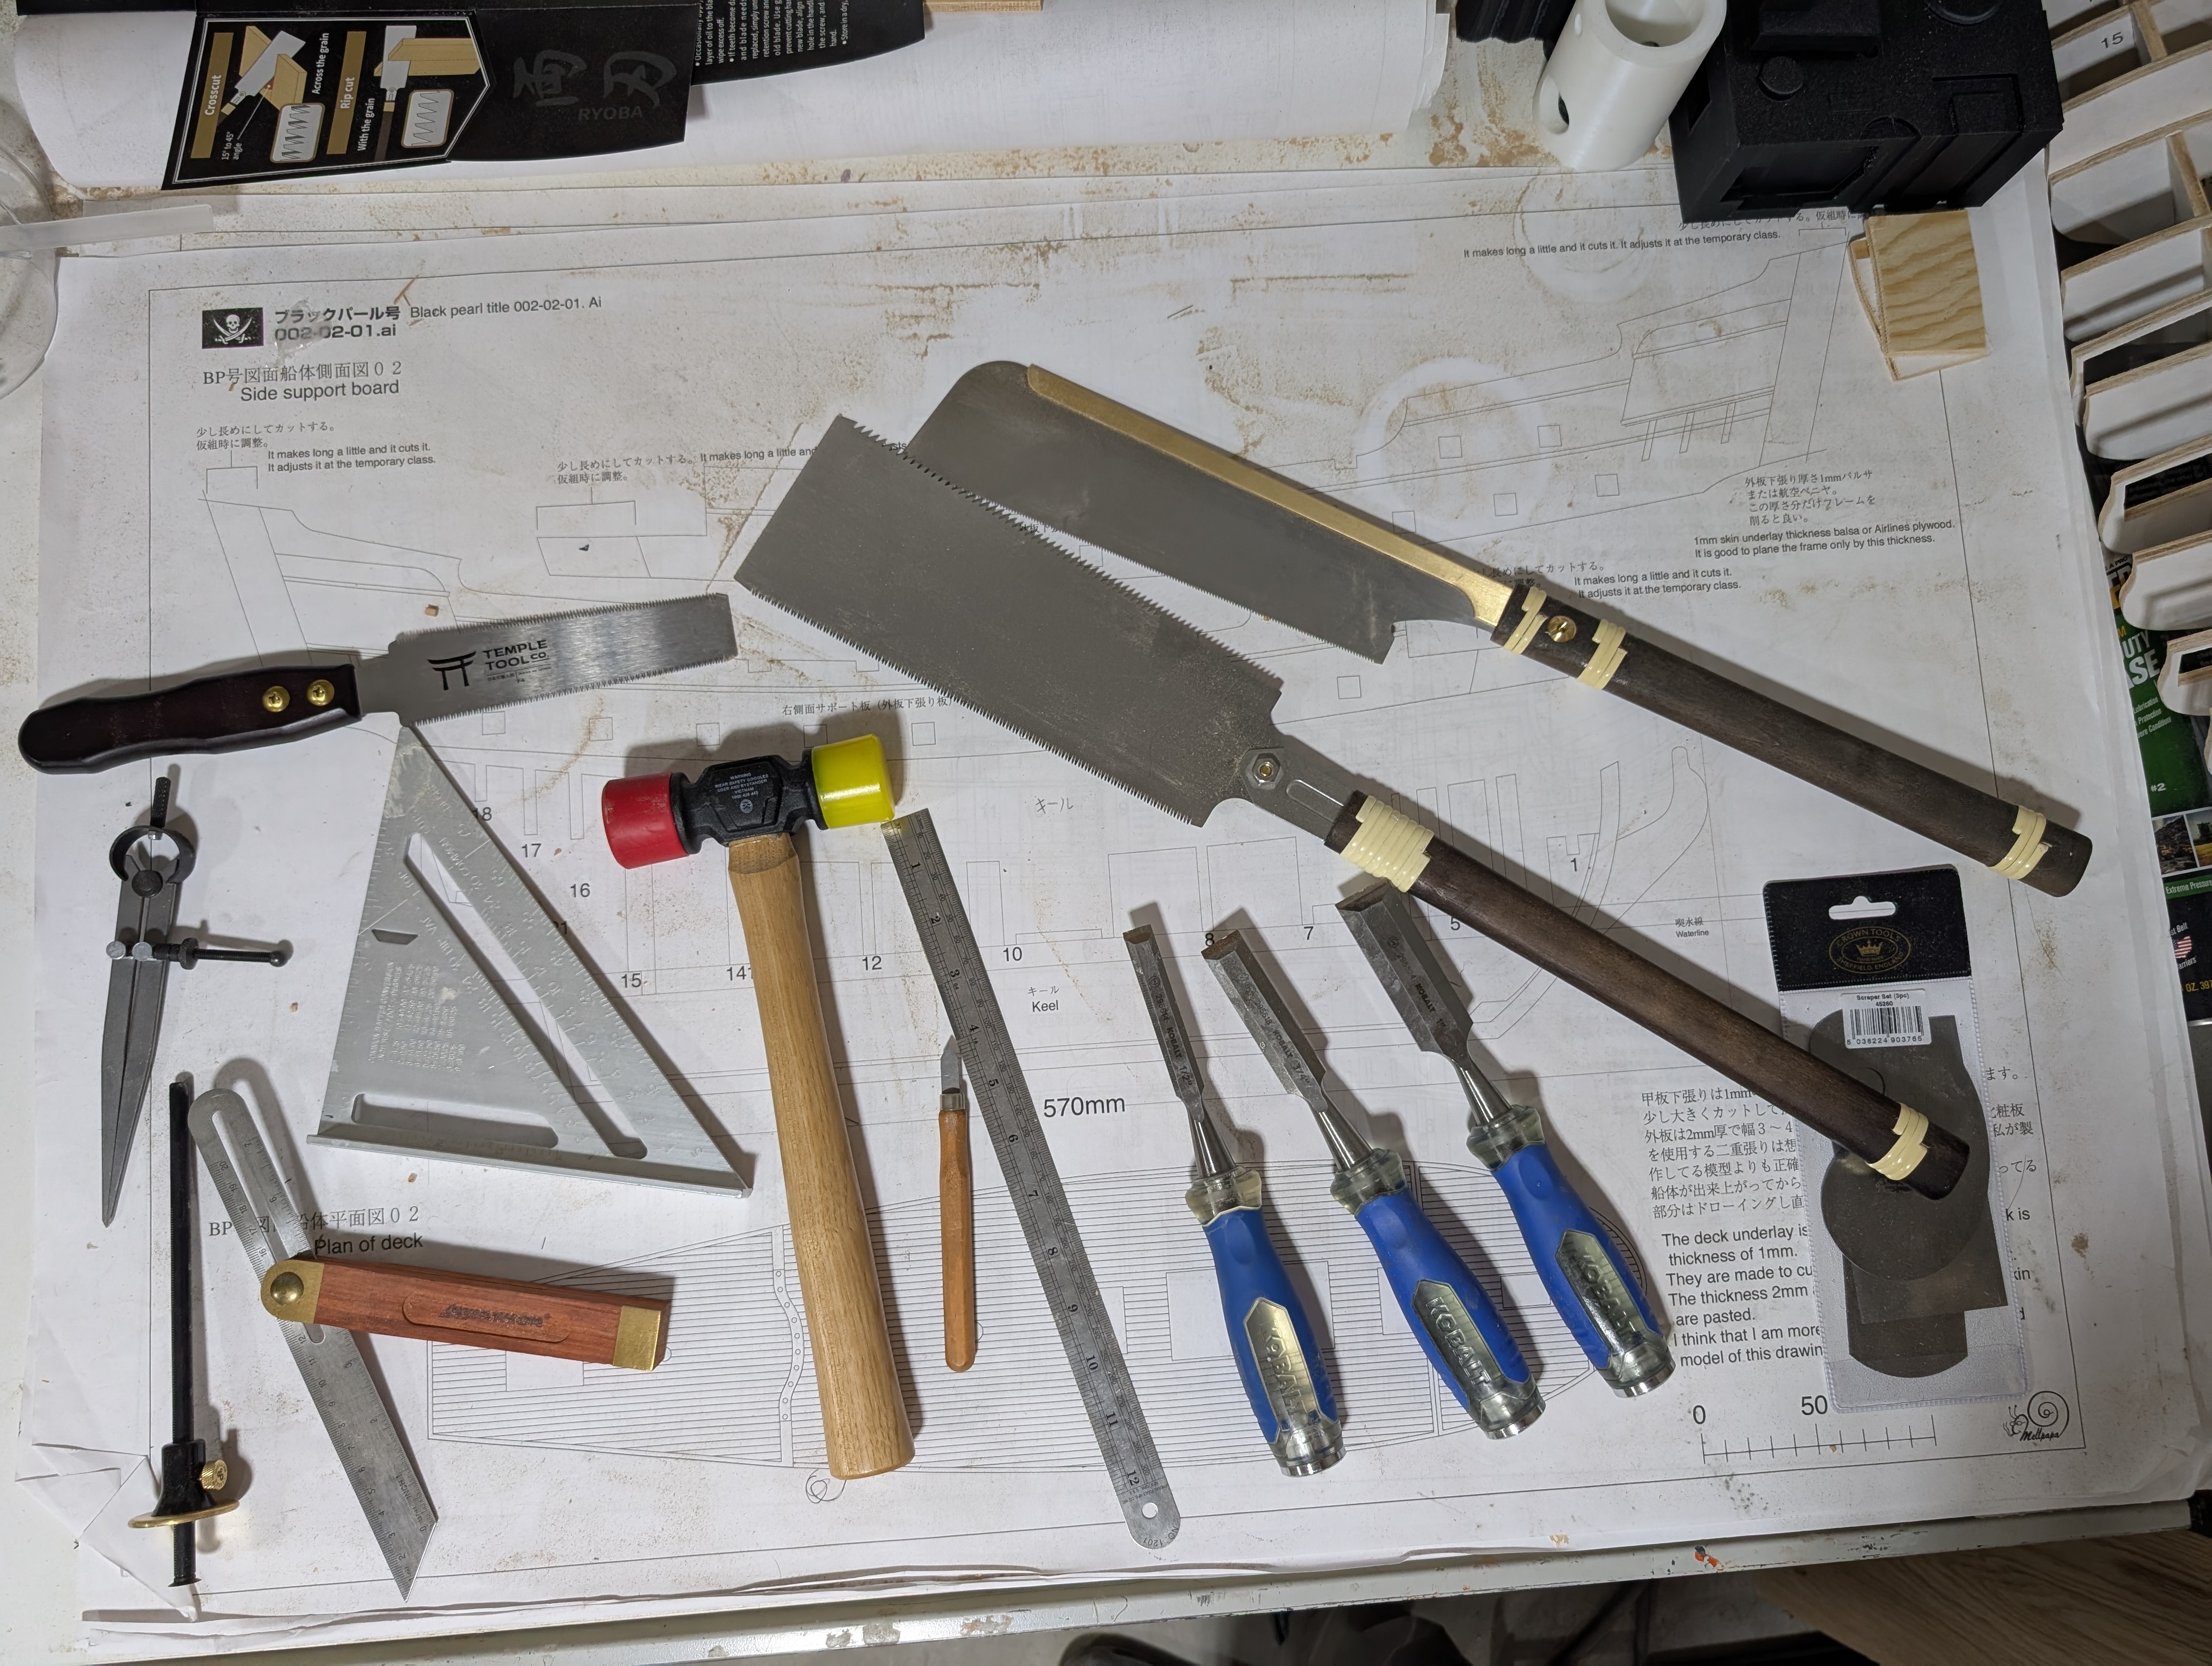
- A set of budget chisels with a sharpening kit
- A small hand planer
- A few Japanese hand saws
- A plastic mallet
- Measuring and marking tools
While basic, these tools should be more than enough to start on the challenge of joinery-focused woodworking.
For this project, I will use a wood that is not too hard to work with, most likely Poplar or Beech, depending on what I find at the lumberyard.
Preparing the Wood
The first crucial step in this project is preparing the wood. Before any cutting or joinery can begin, the lumber must be properly dimensioned in terms of length, width, and height. This is where machines come into play to ensure accuracy and consistency:
To ensure precision, I follow a typical structured approach when preparing the wood:
-
Jointing: The first step is to make one face perfectly flat using the jointer. Once one face is flat, I use the jointer again to make one adjacent edge perpendicular to it. At this stage, I have two reference surfaces ready.
-
Planing: With two faces prepared, I use the planer to make the opposite face parallel to the first. This ensures uniform thickness across the entire board, leaving three faces properly dimensioned.
-
Final Sizing: Depending on the wood’s width, I have two options:
- If the block has a relatively equal length and width, I can run it through the planer for the final face to bring it to the correct dimensions.
- If the wood is too wide for the planer, I use the table saw to cut it to the correct width.
By following this method, I ensure that each piece of wood is properly squared and ready for joinery work.
What’s Next?
I will be documenting each stage as I progress, sharing techniques, challenges, and improvements. The next step will be laying out the joints and making the first cuts using chisels and saws.
This project is purely for the enjoyment of learning and refining my woodworking skills, and I welcome any feedback or discussion!
Looking forward to sharing the journey!
Subscribe via RSS