Sawhorse 2
by Julien Loiseau
Sawhorse Construction - Part 1: Making Sawdust!
The Plan
Every good project starts with a plan, and mine is… a bit of a sketch. Literally. Below is a picture of the initial design I put together.
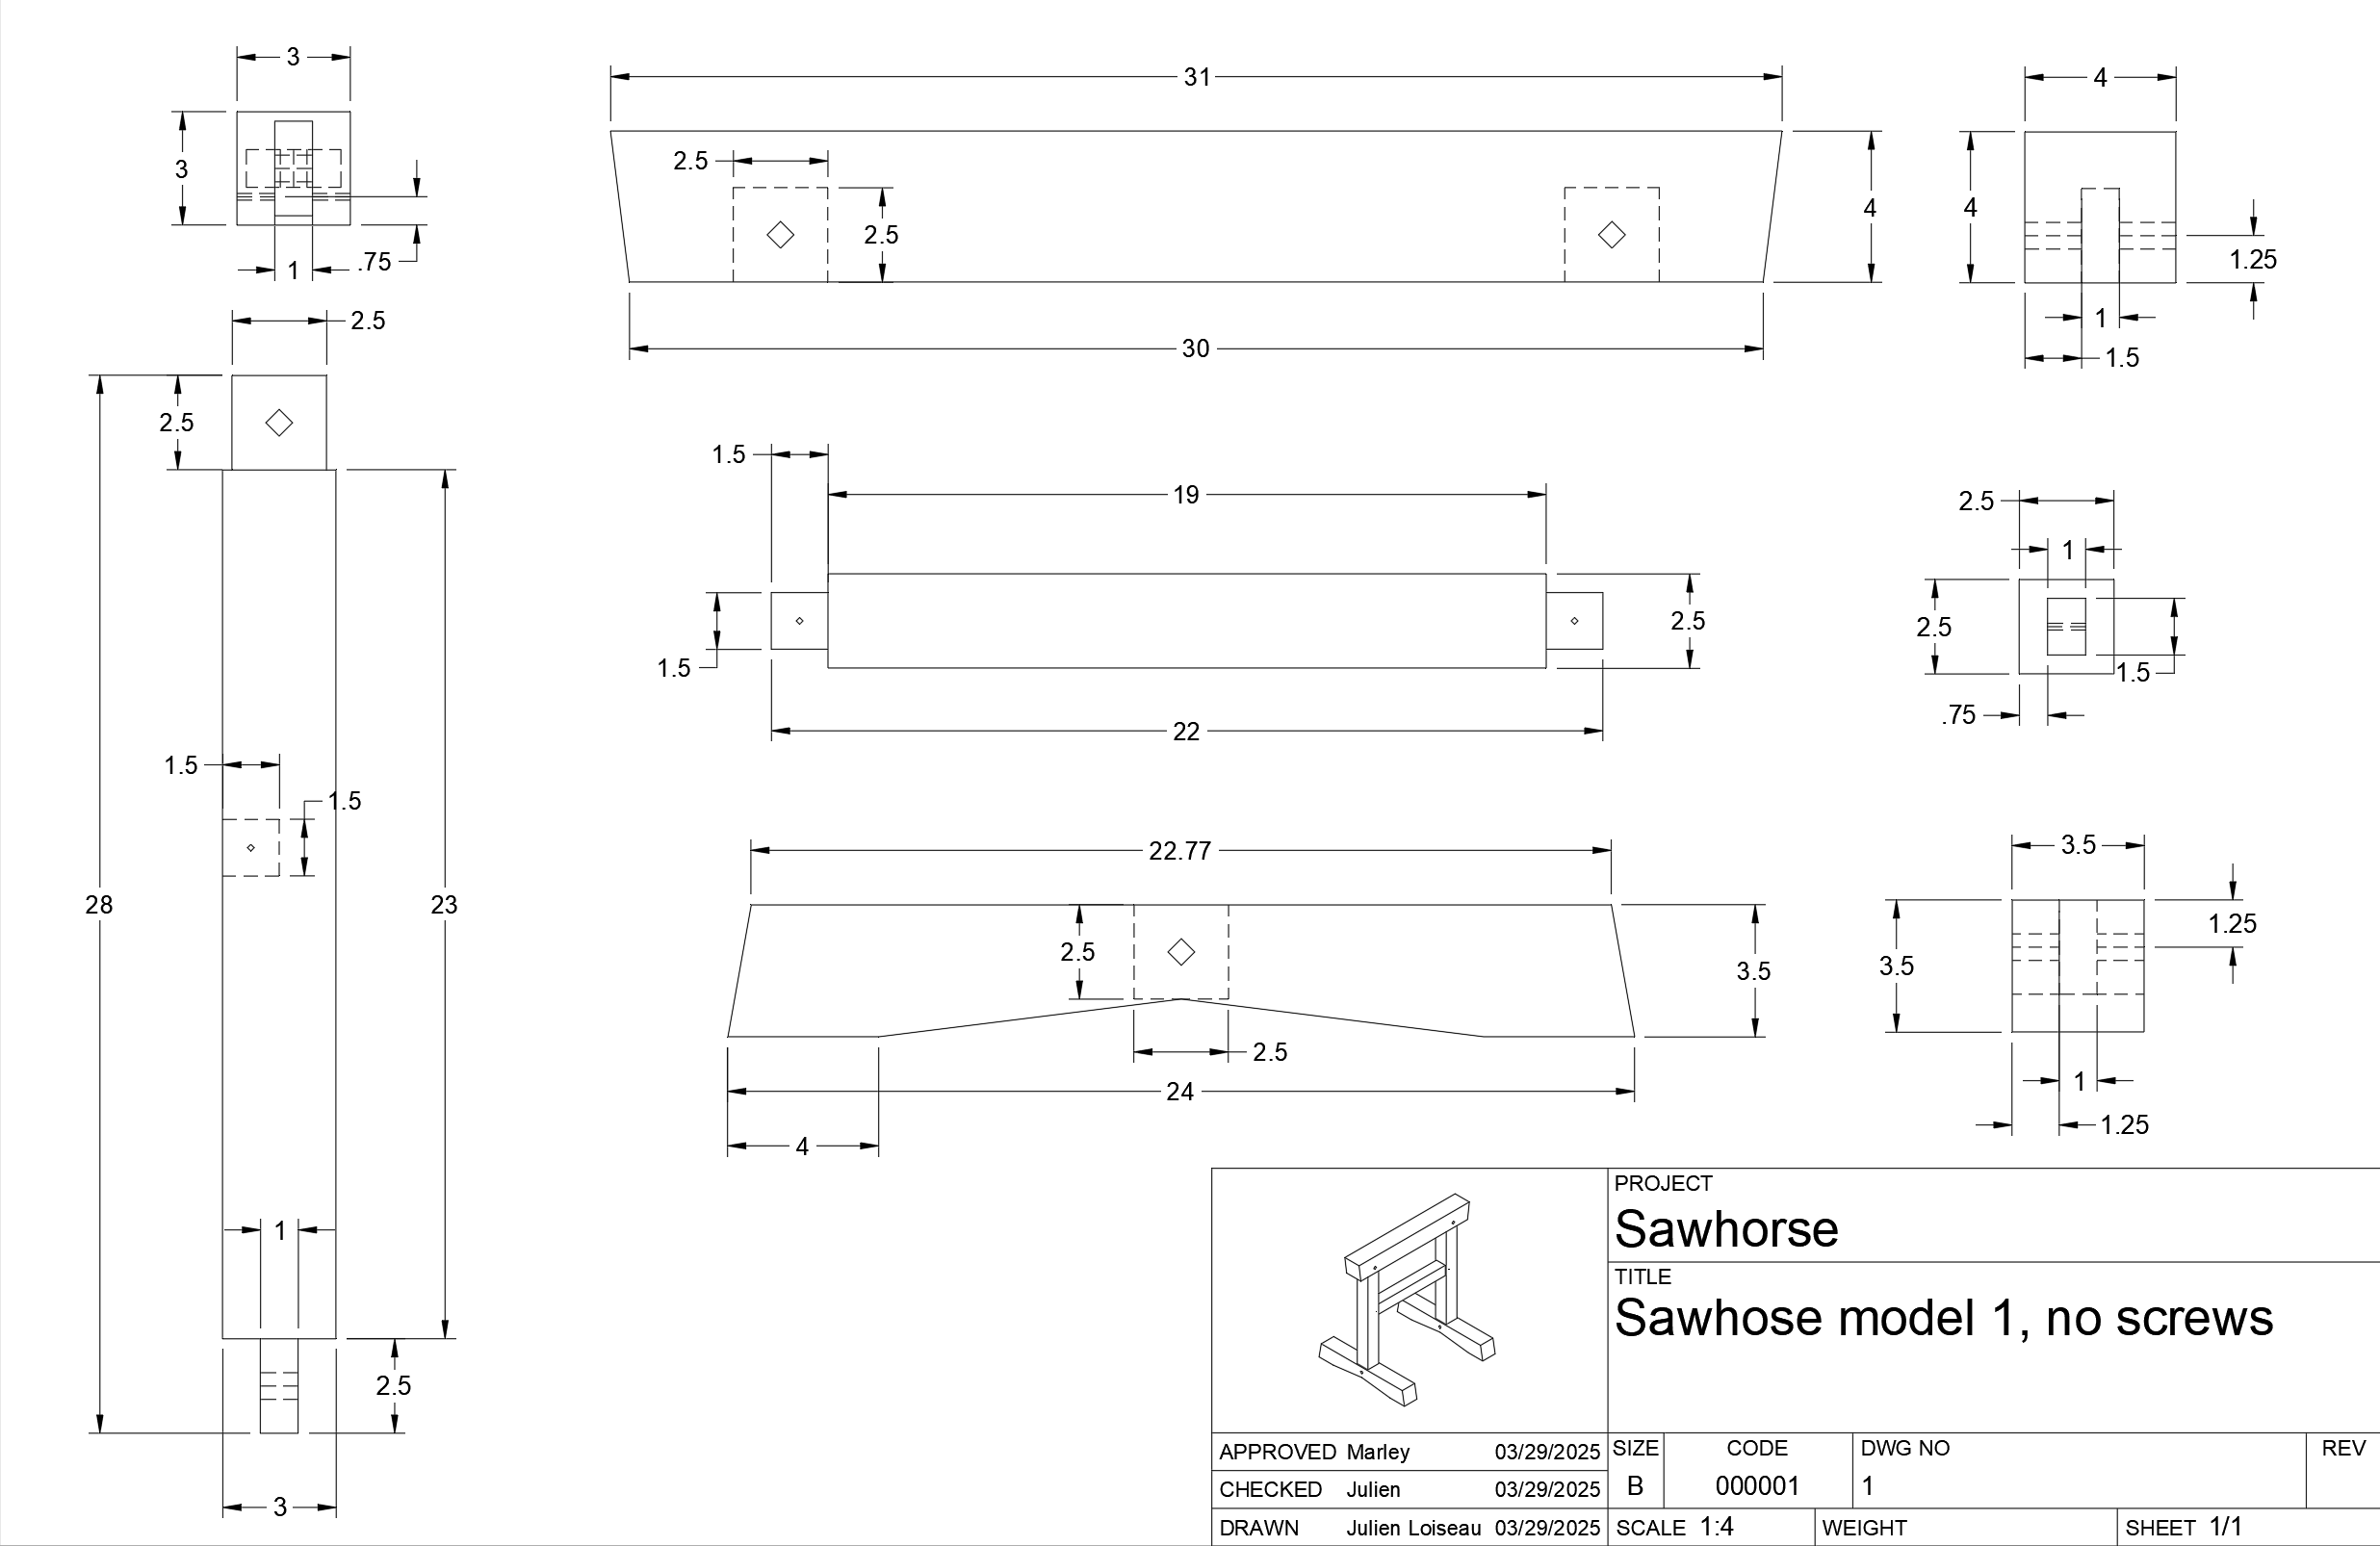
I’m still debating whether to use round or square pegs for the joinery.
Raw Materials
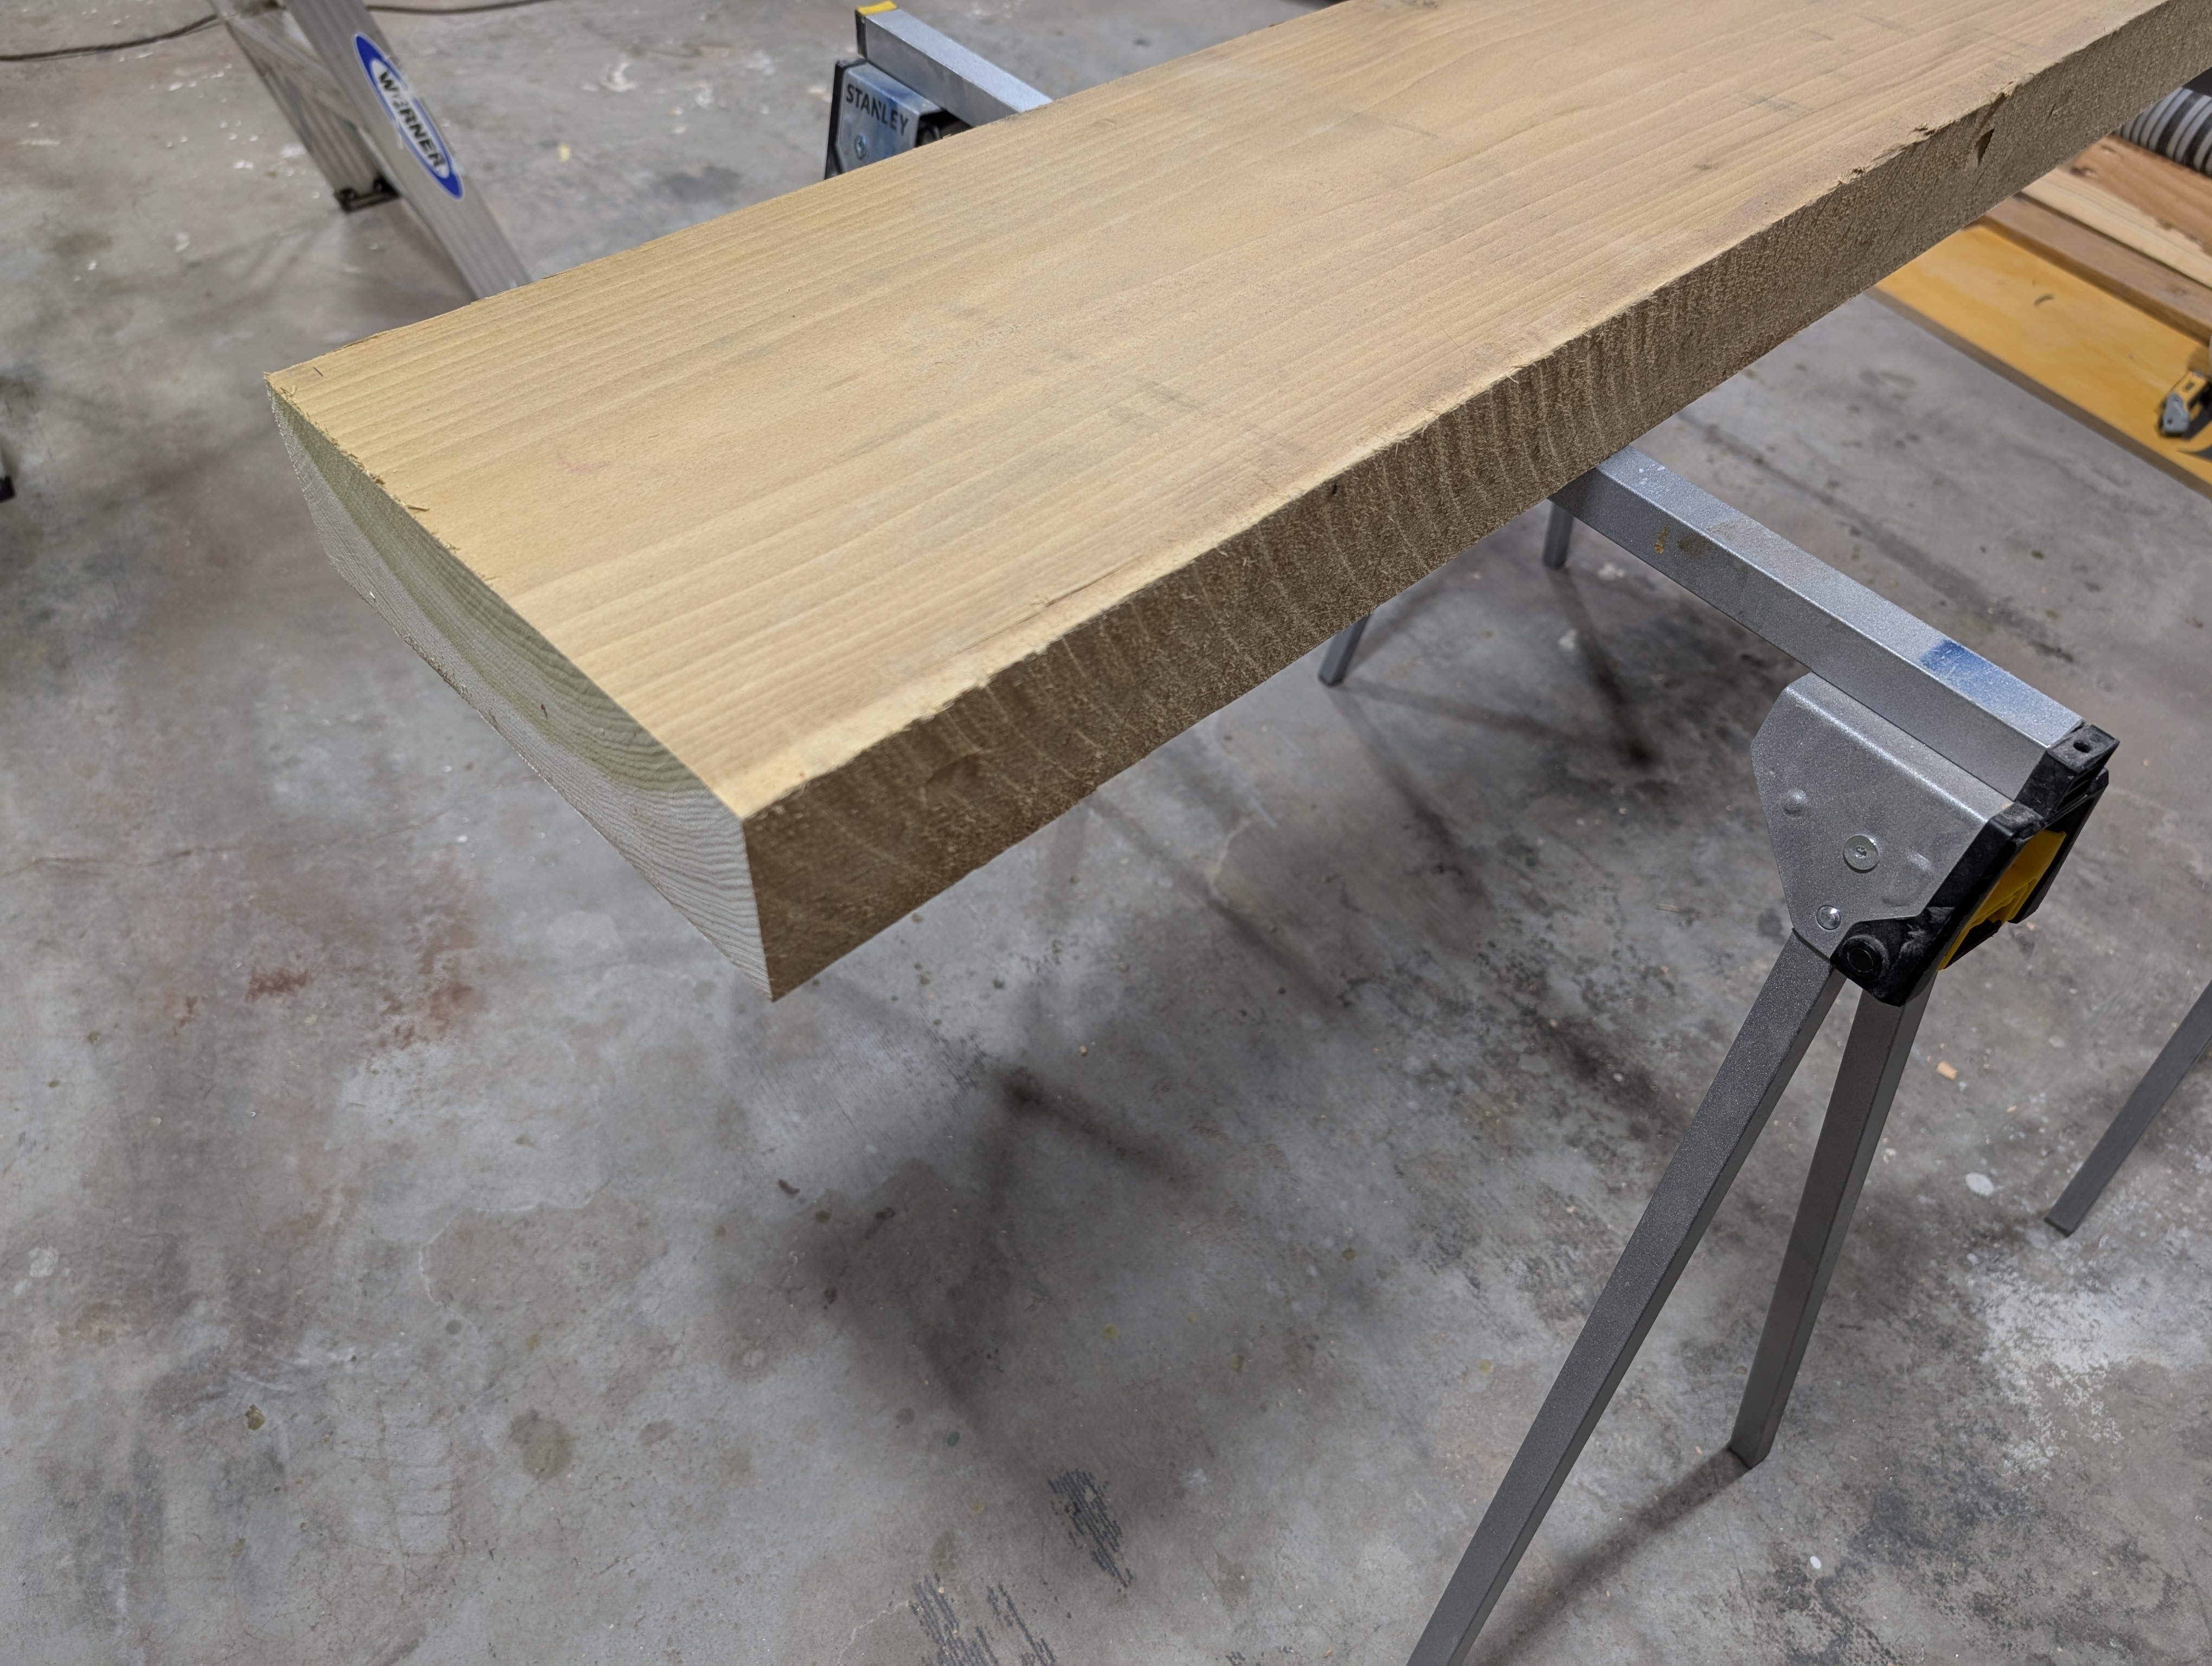
I’ve chosen poplar for this build. It’s soft enough to work by hand and available at my local lumberyard. Here’s the slab I brought home, just waiting to become a sawhorse:
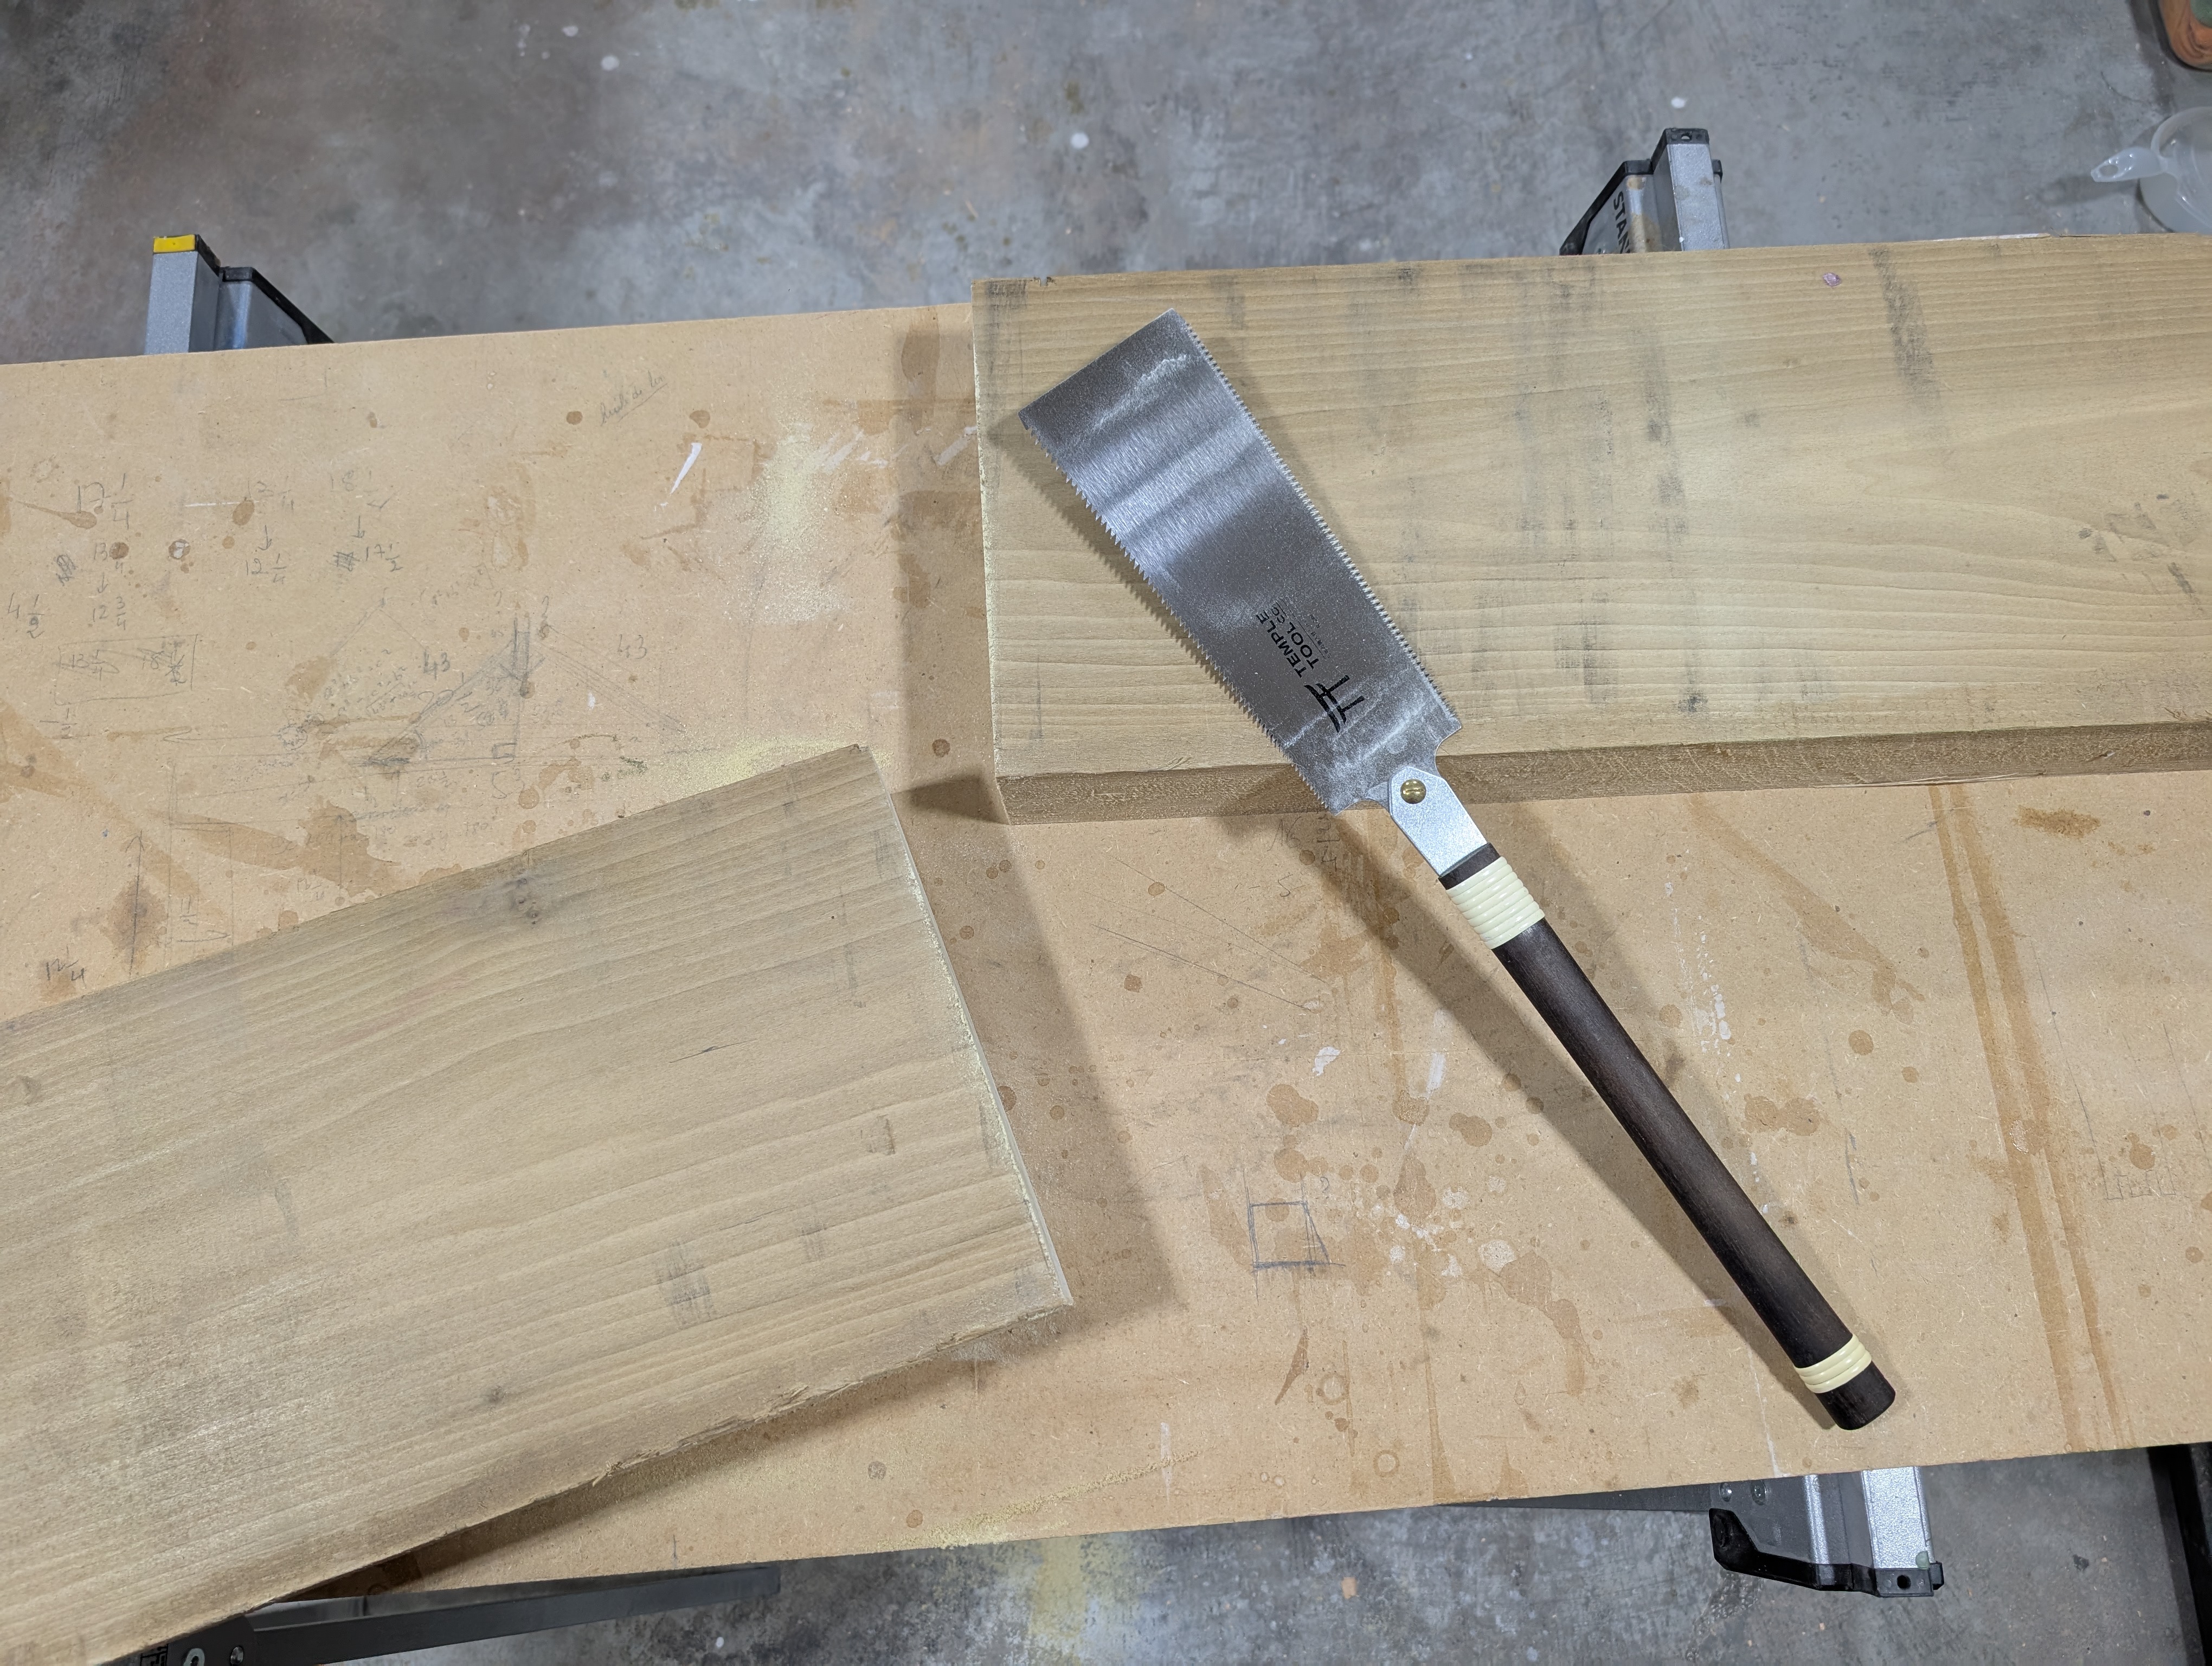
Starting to play with these Japanese saws:
Preparing the Wood
Just like I described in the first post, I started by jointing and planing the poplar. Here’s a look at some of the pieces after dimensioning:
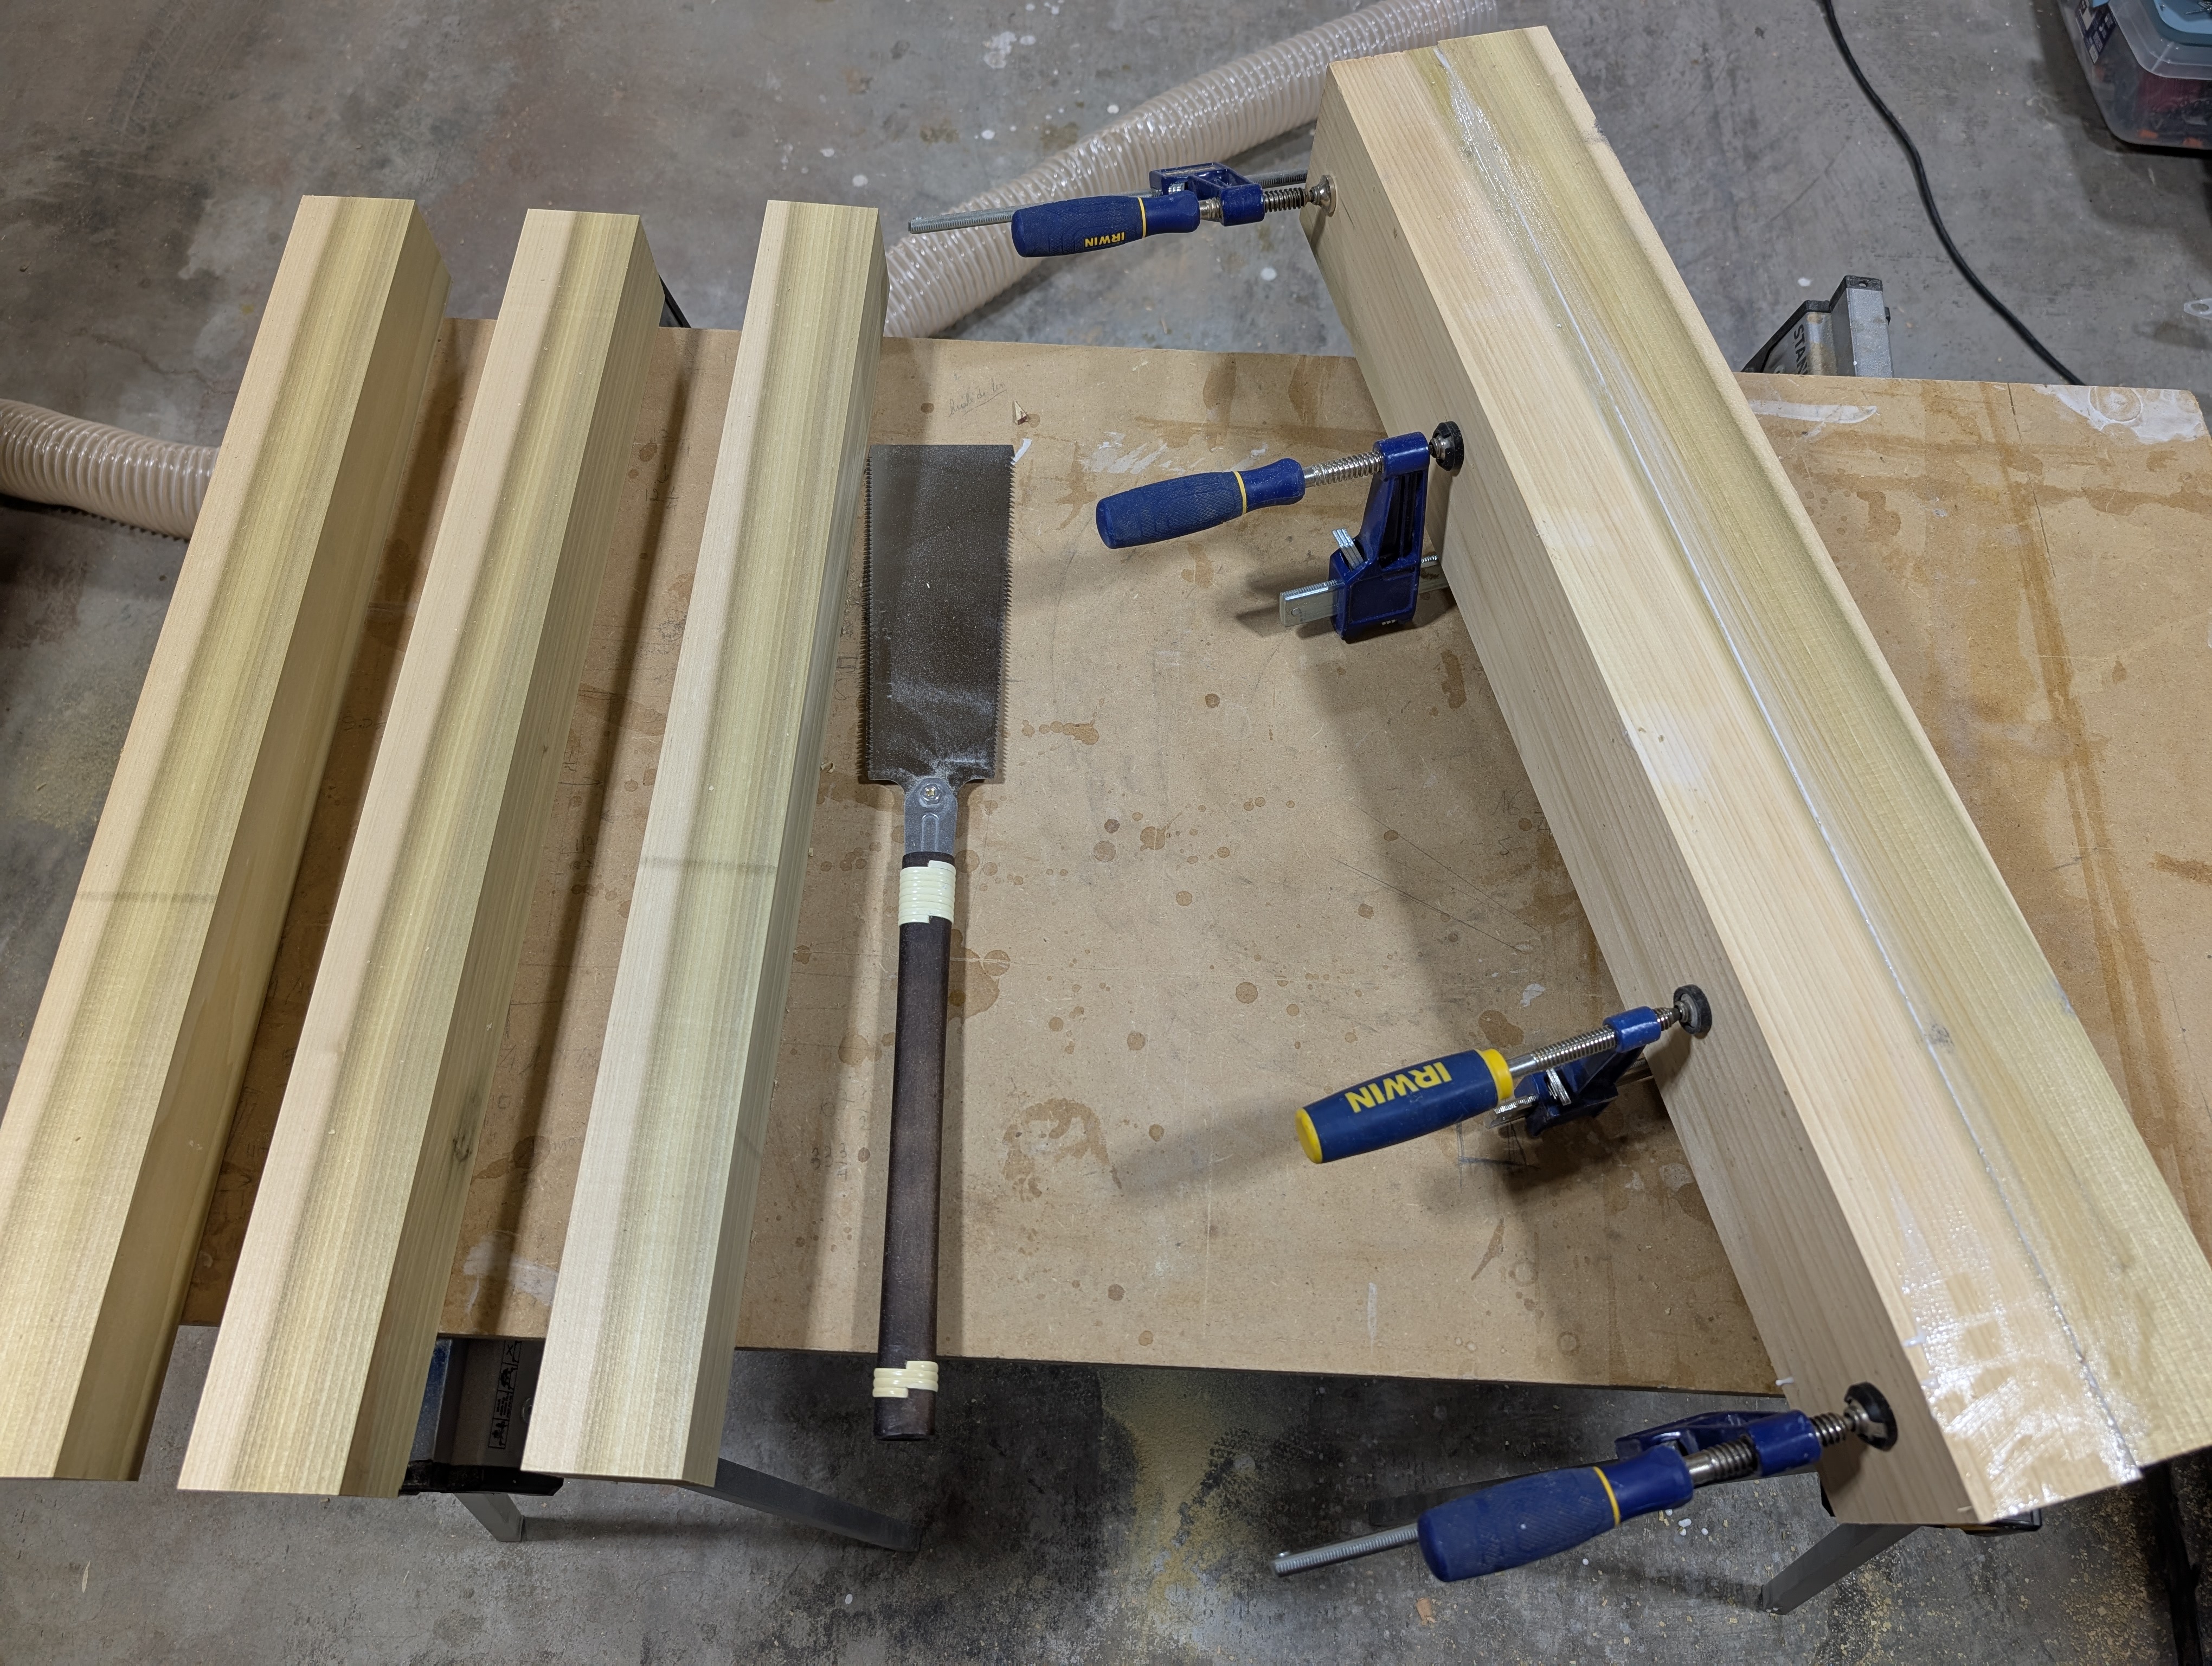
To reach the 4 inches needed for the top beam, I glued two smaller boards together. Poplar glues up well and should be solid enough for the weight it’ll carry.
Starting the Joinery
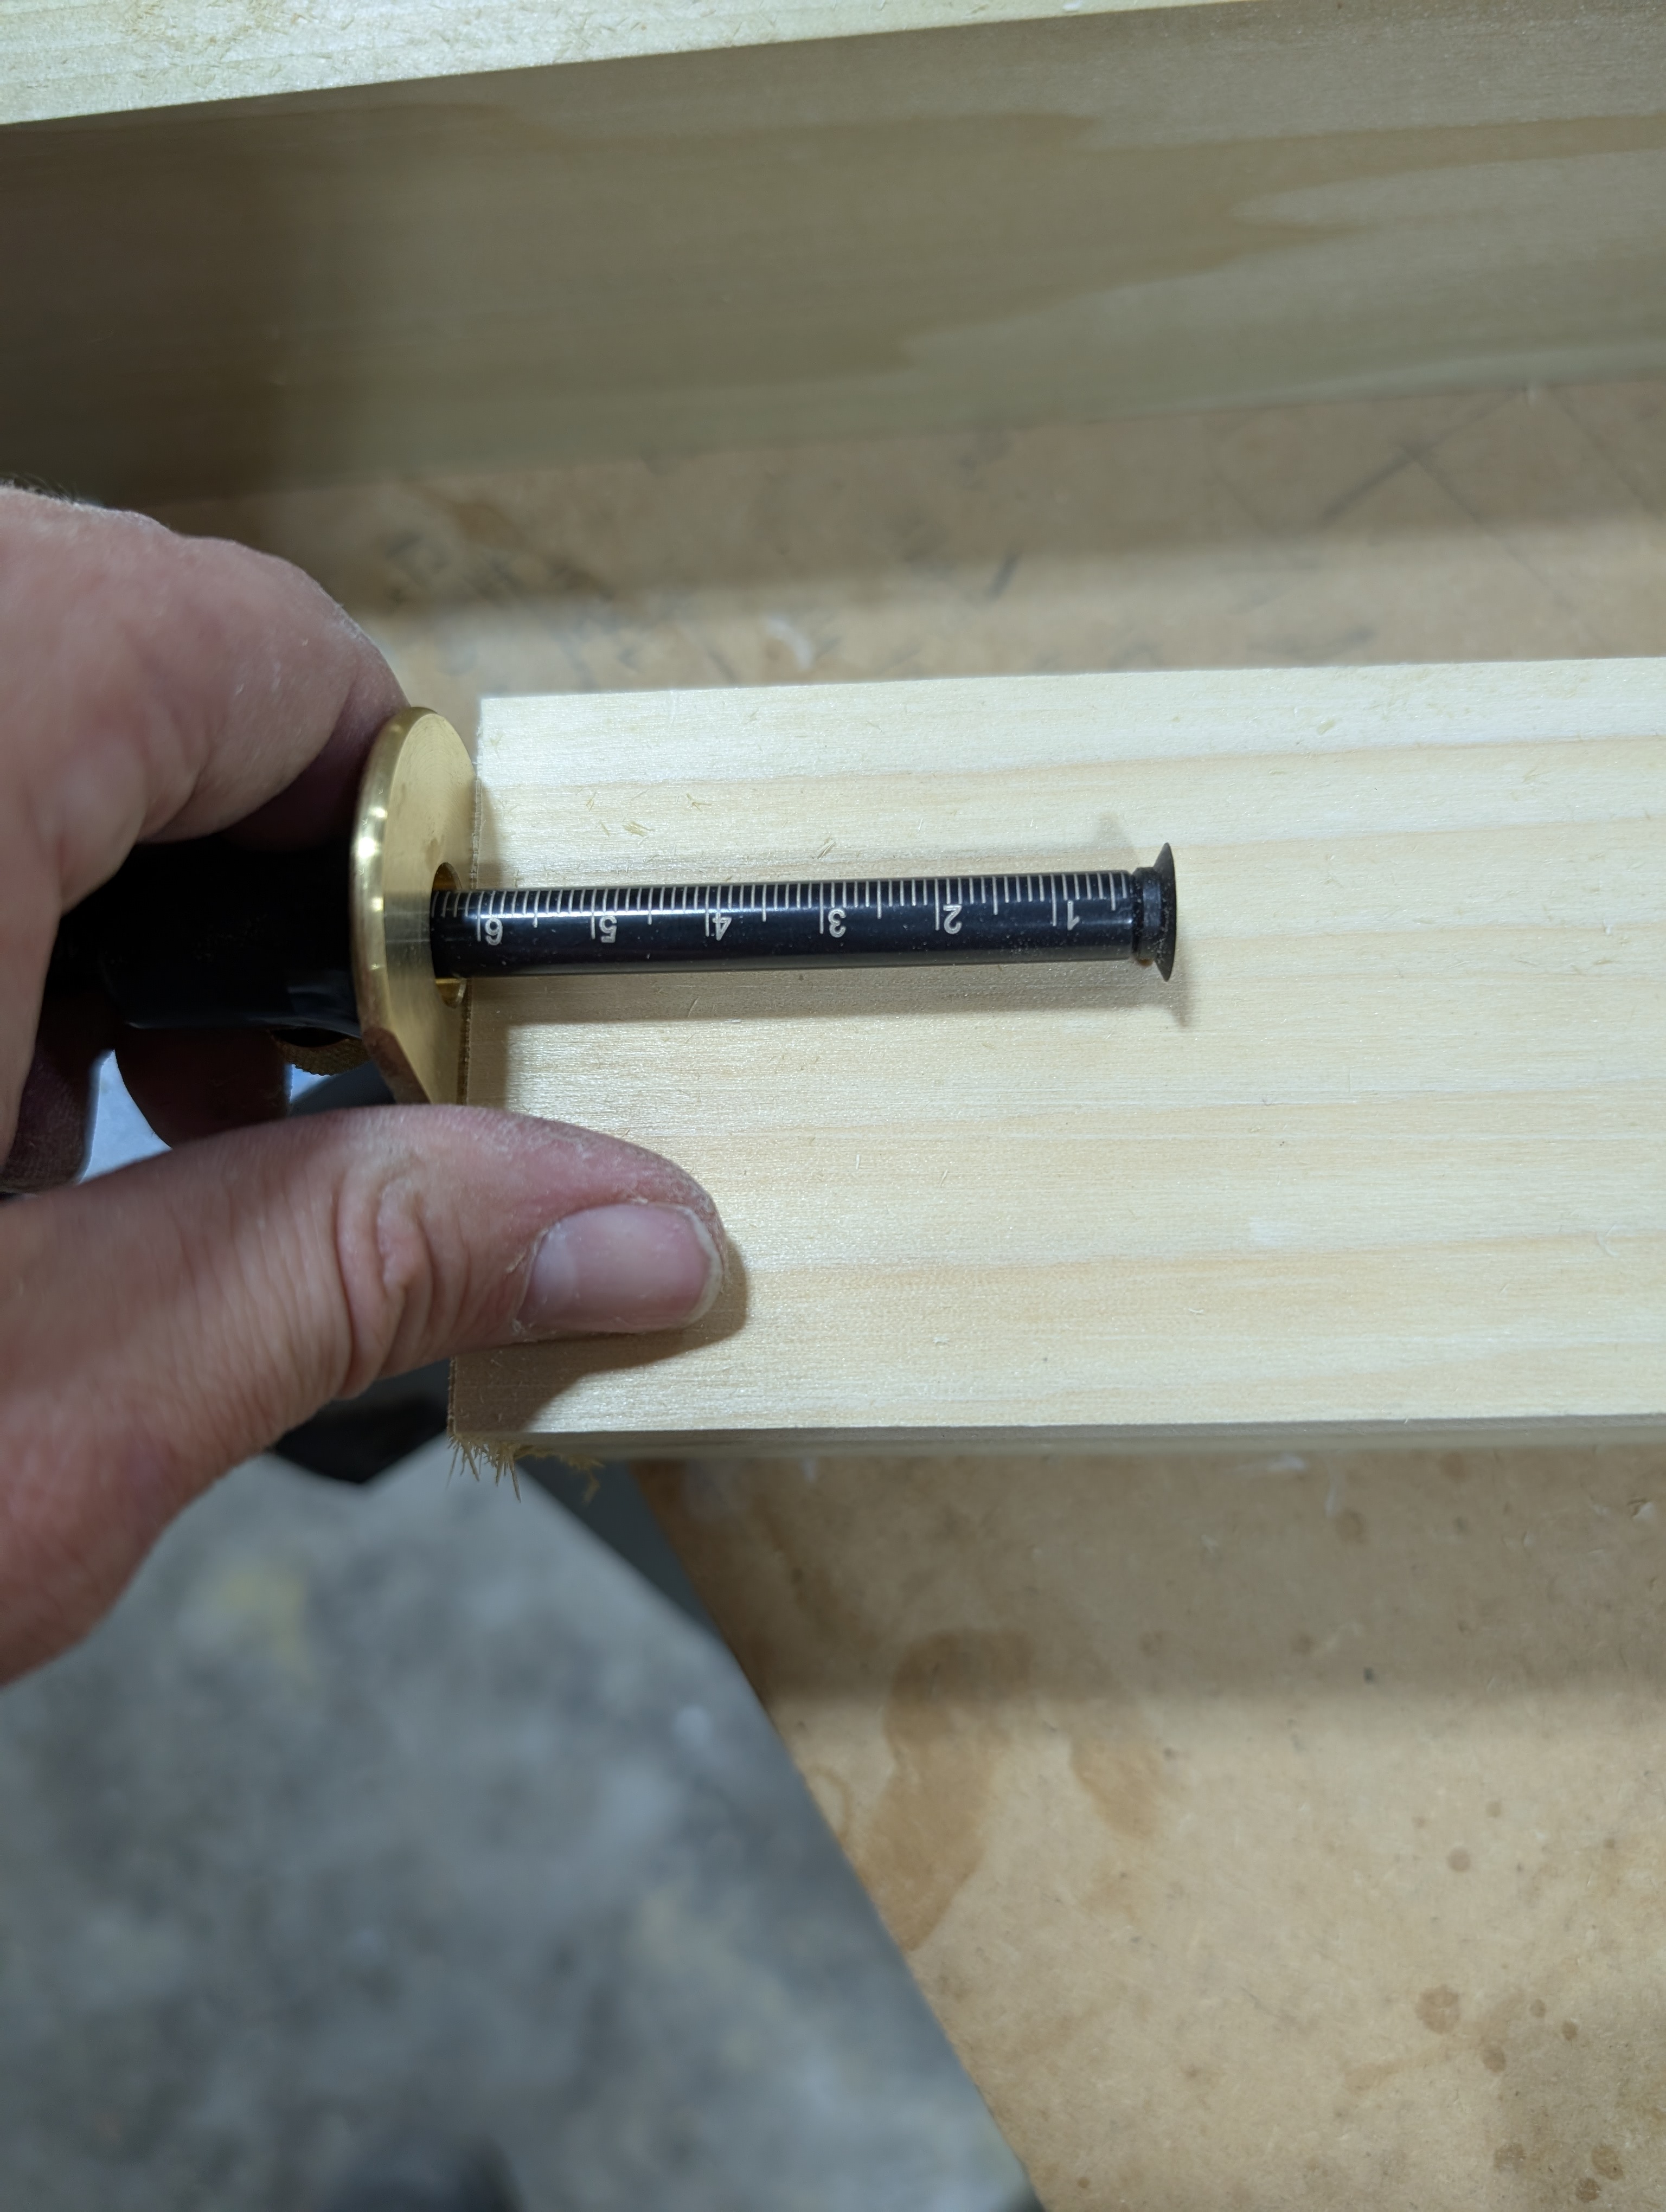
With the wood prepared, I got to work marking everything using my trusty marking gauge and square.
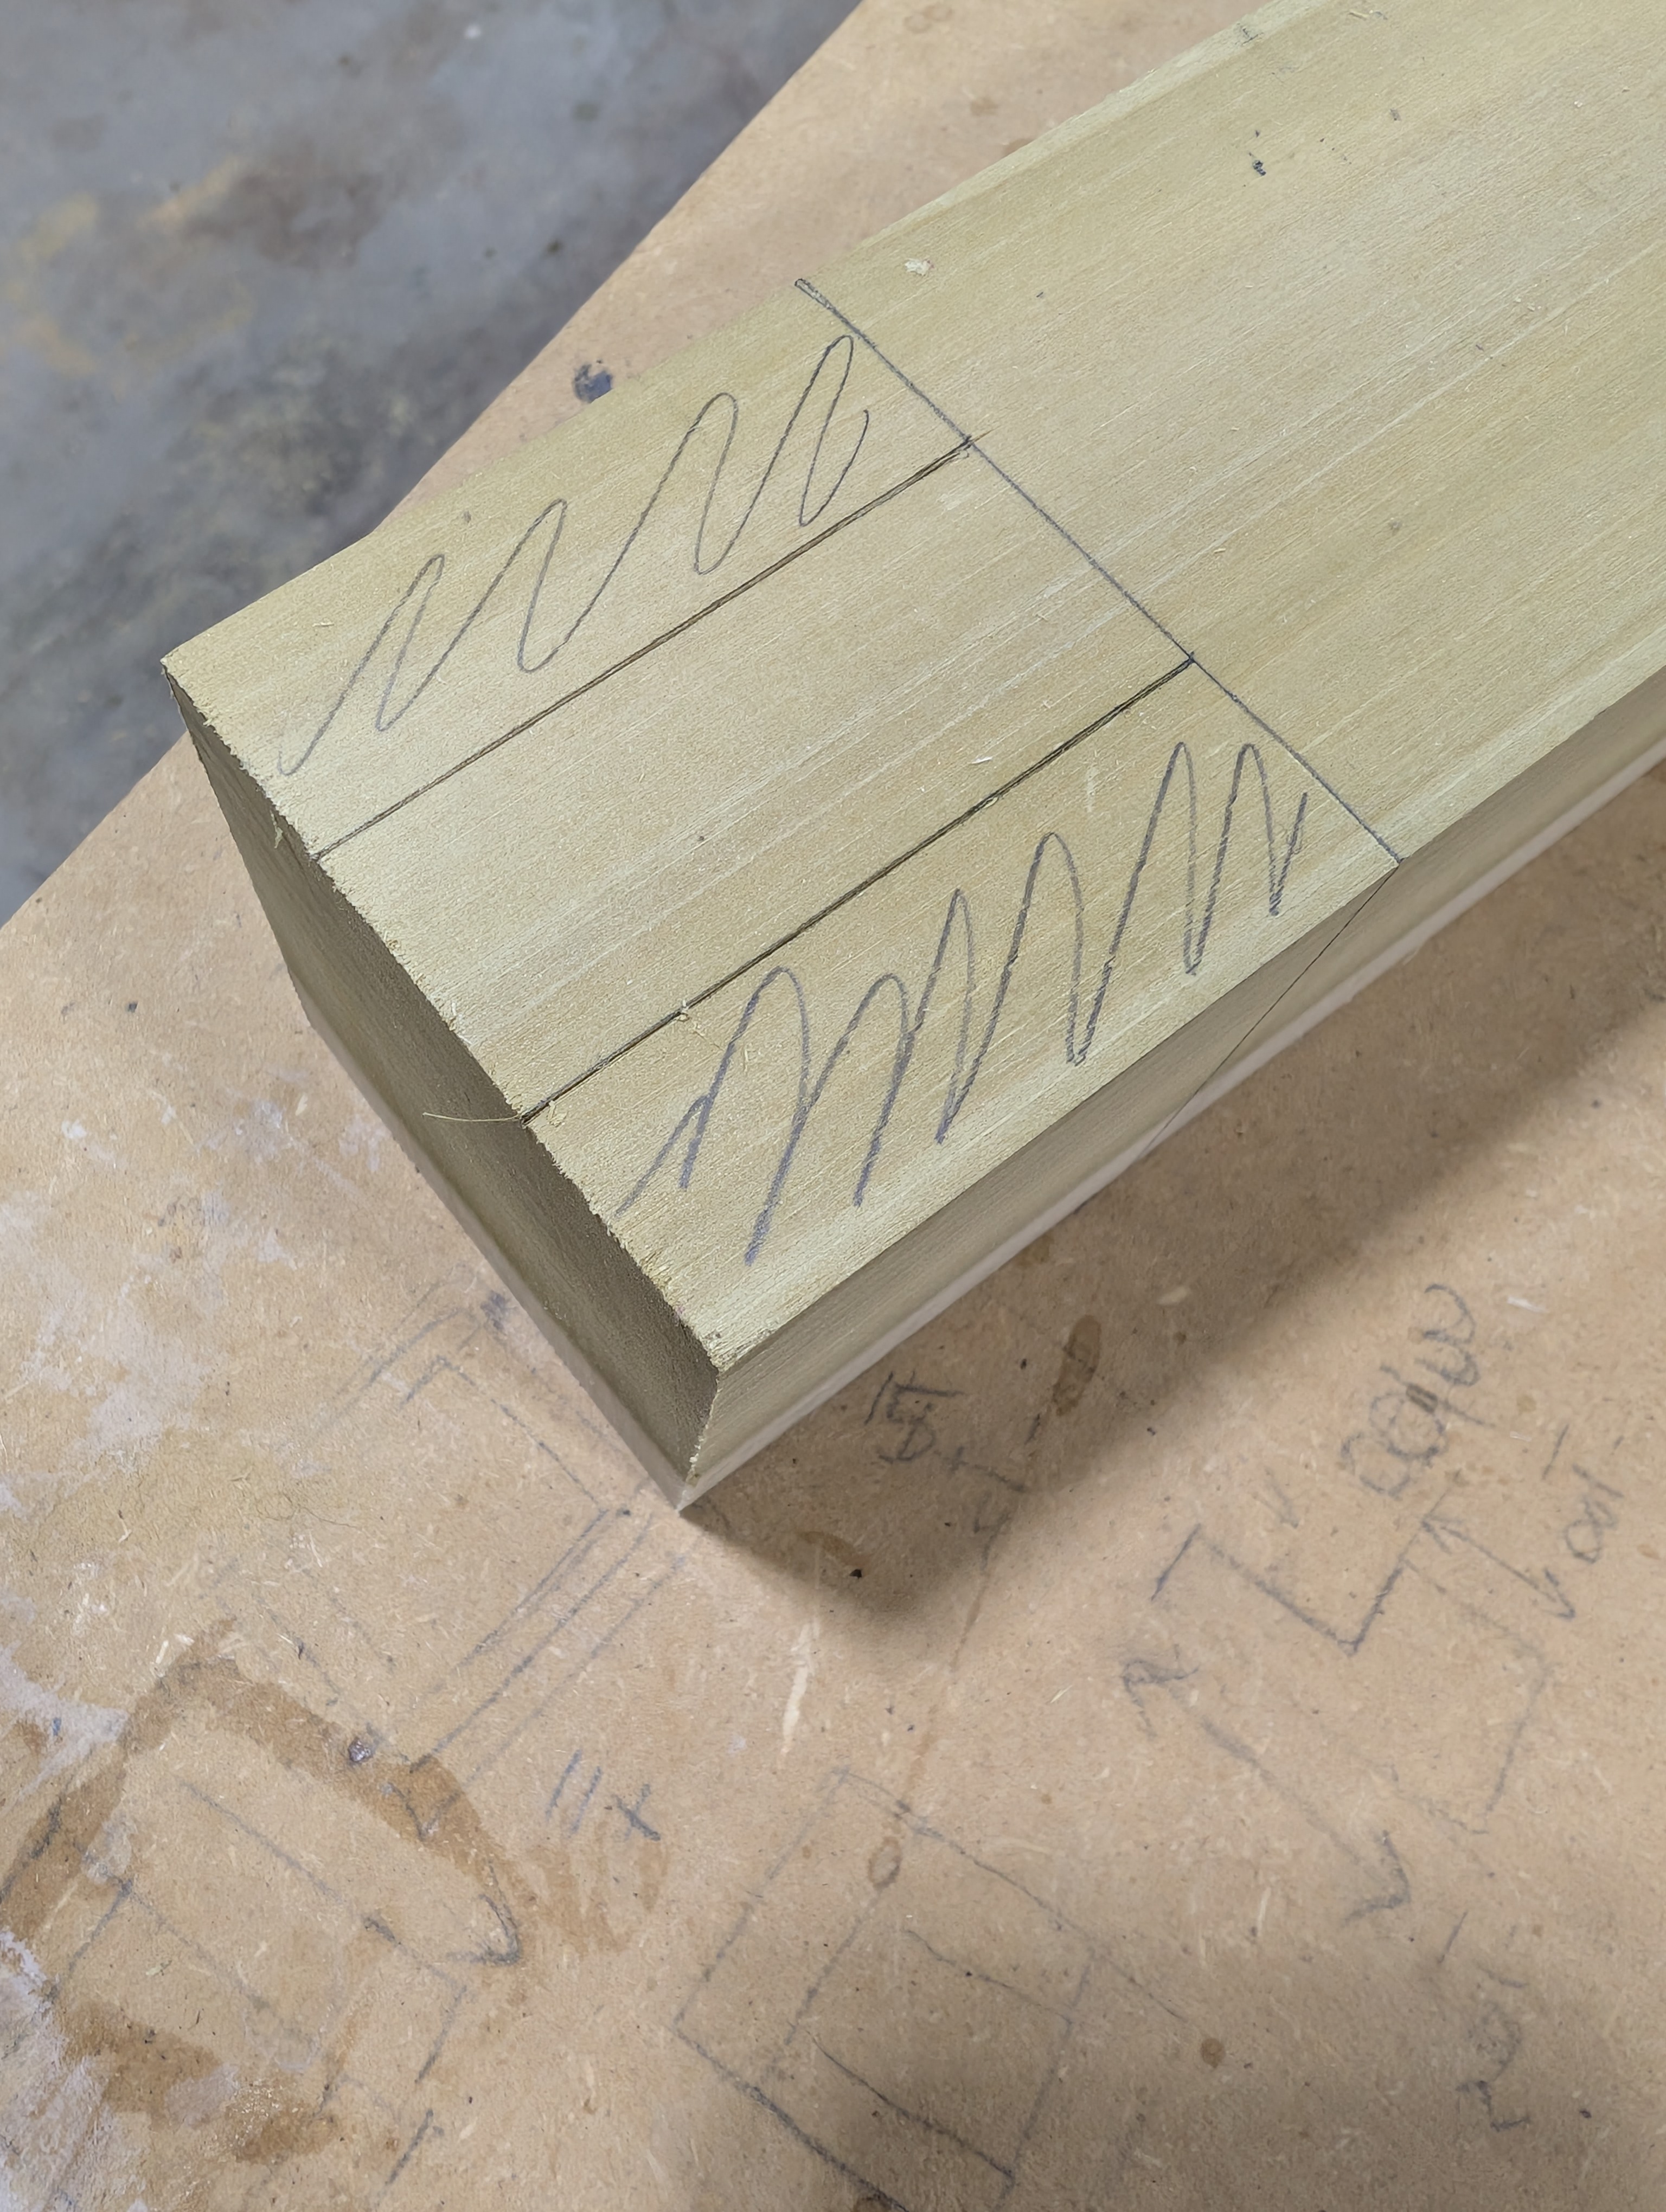
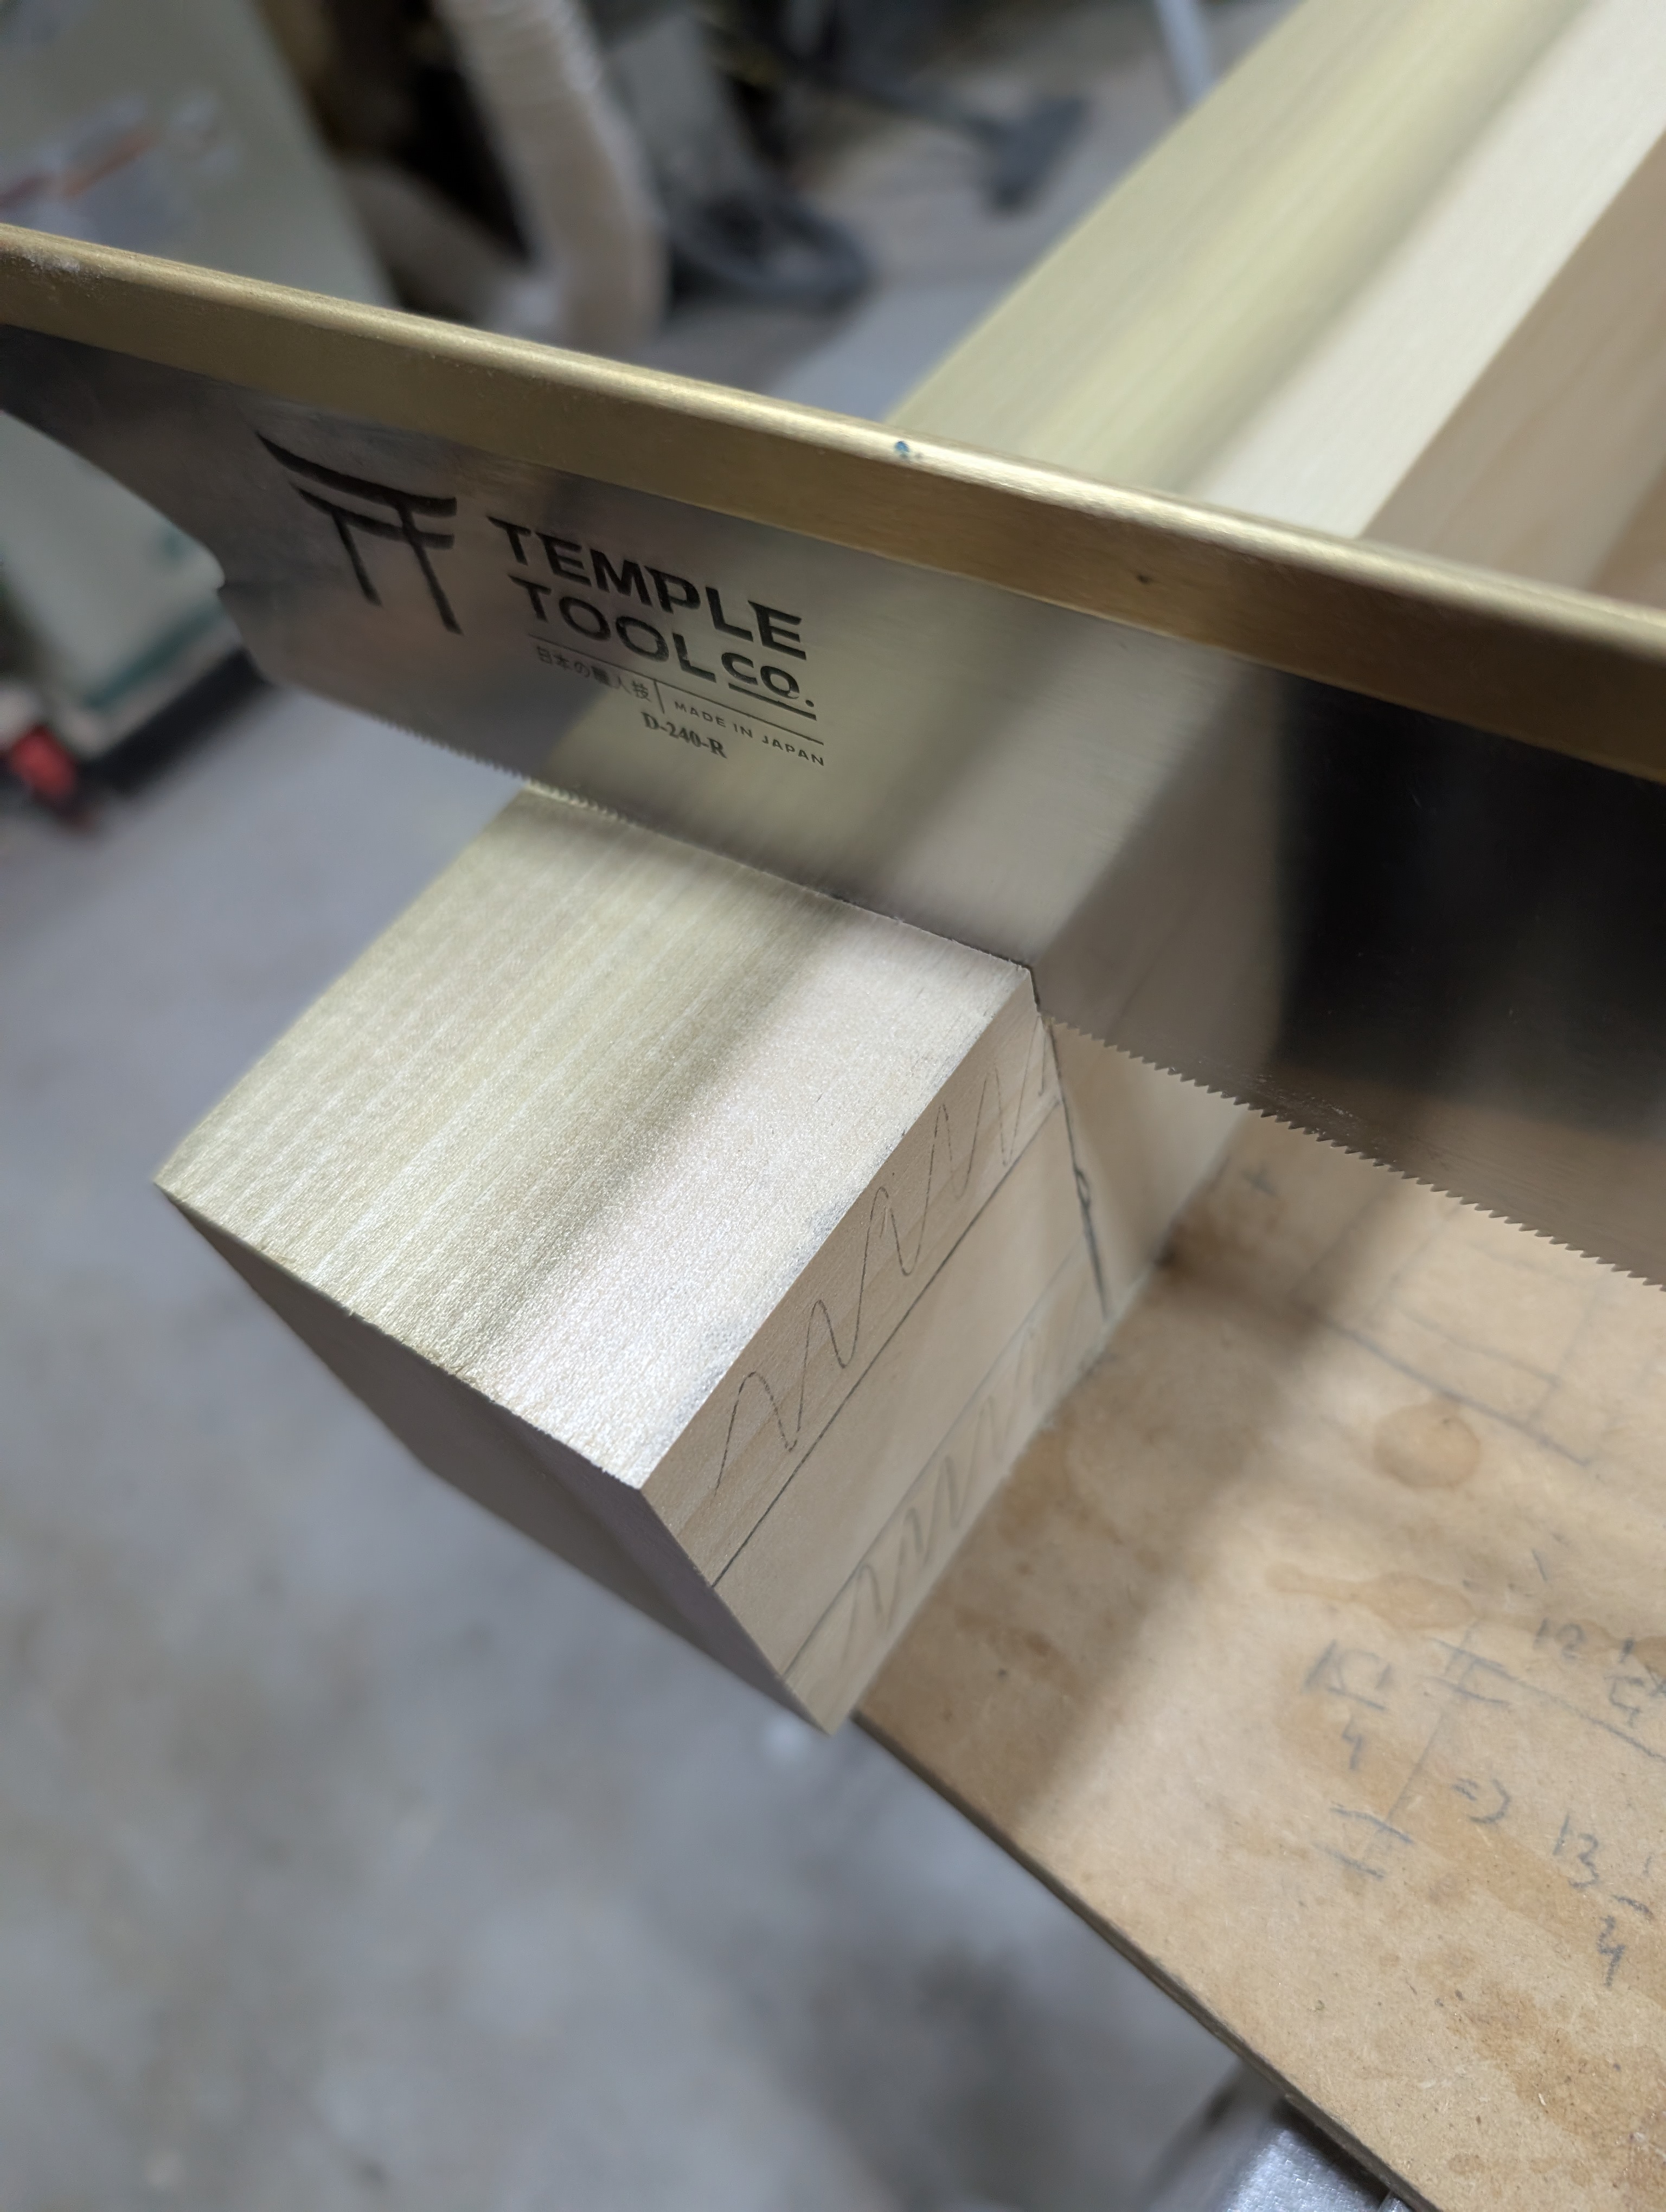
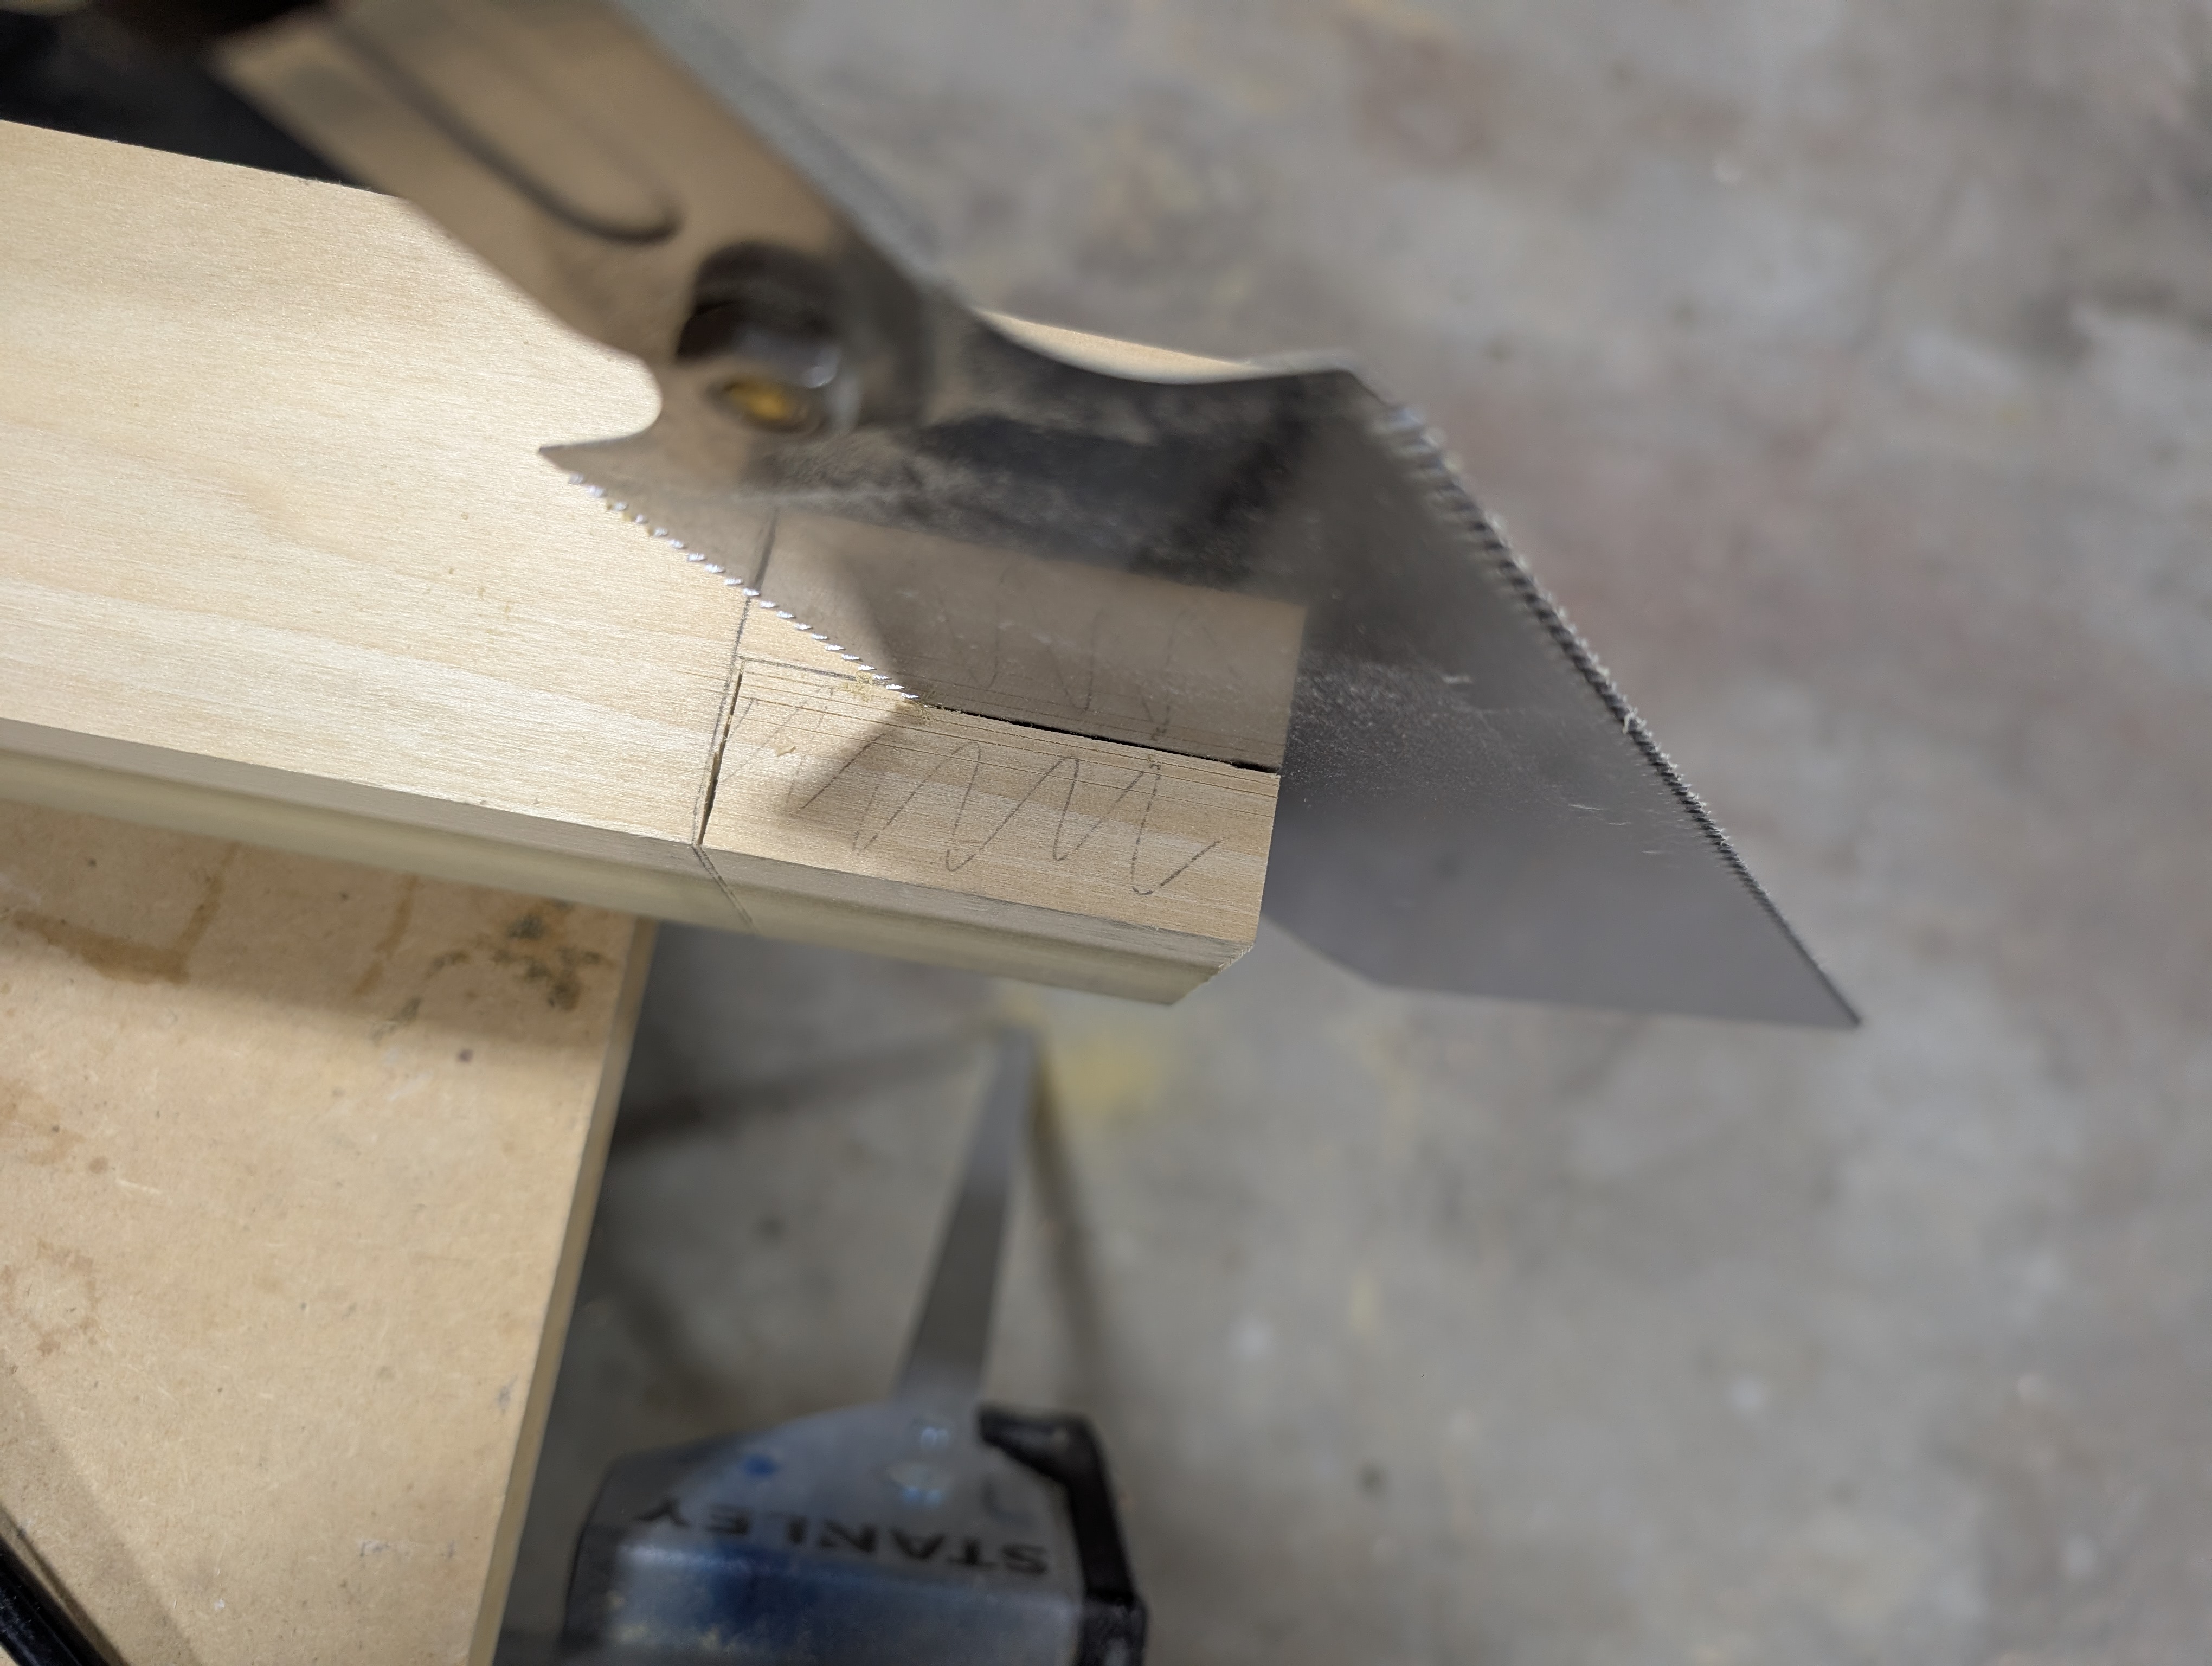
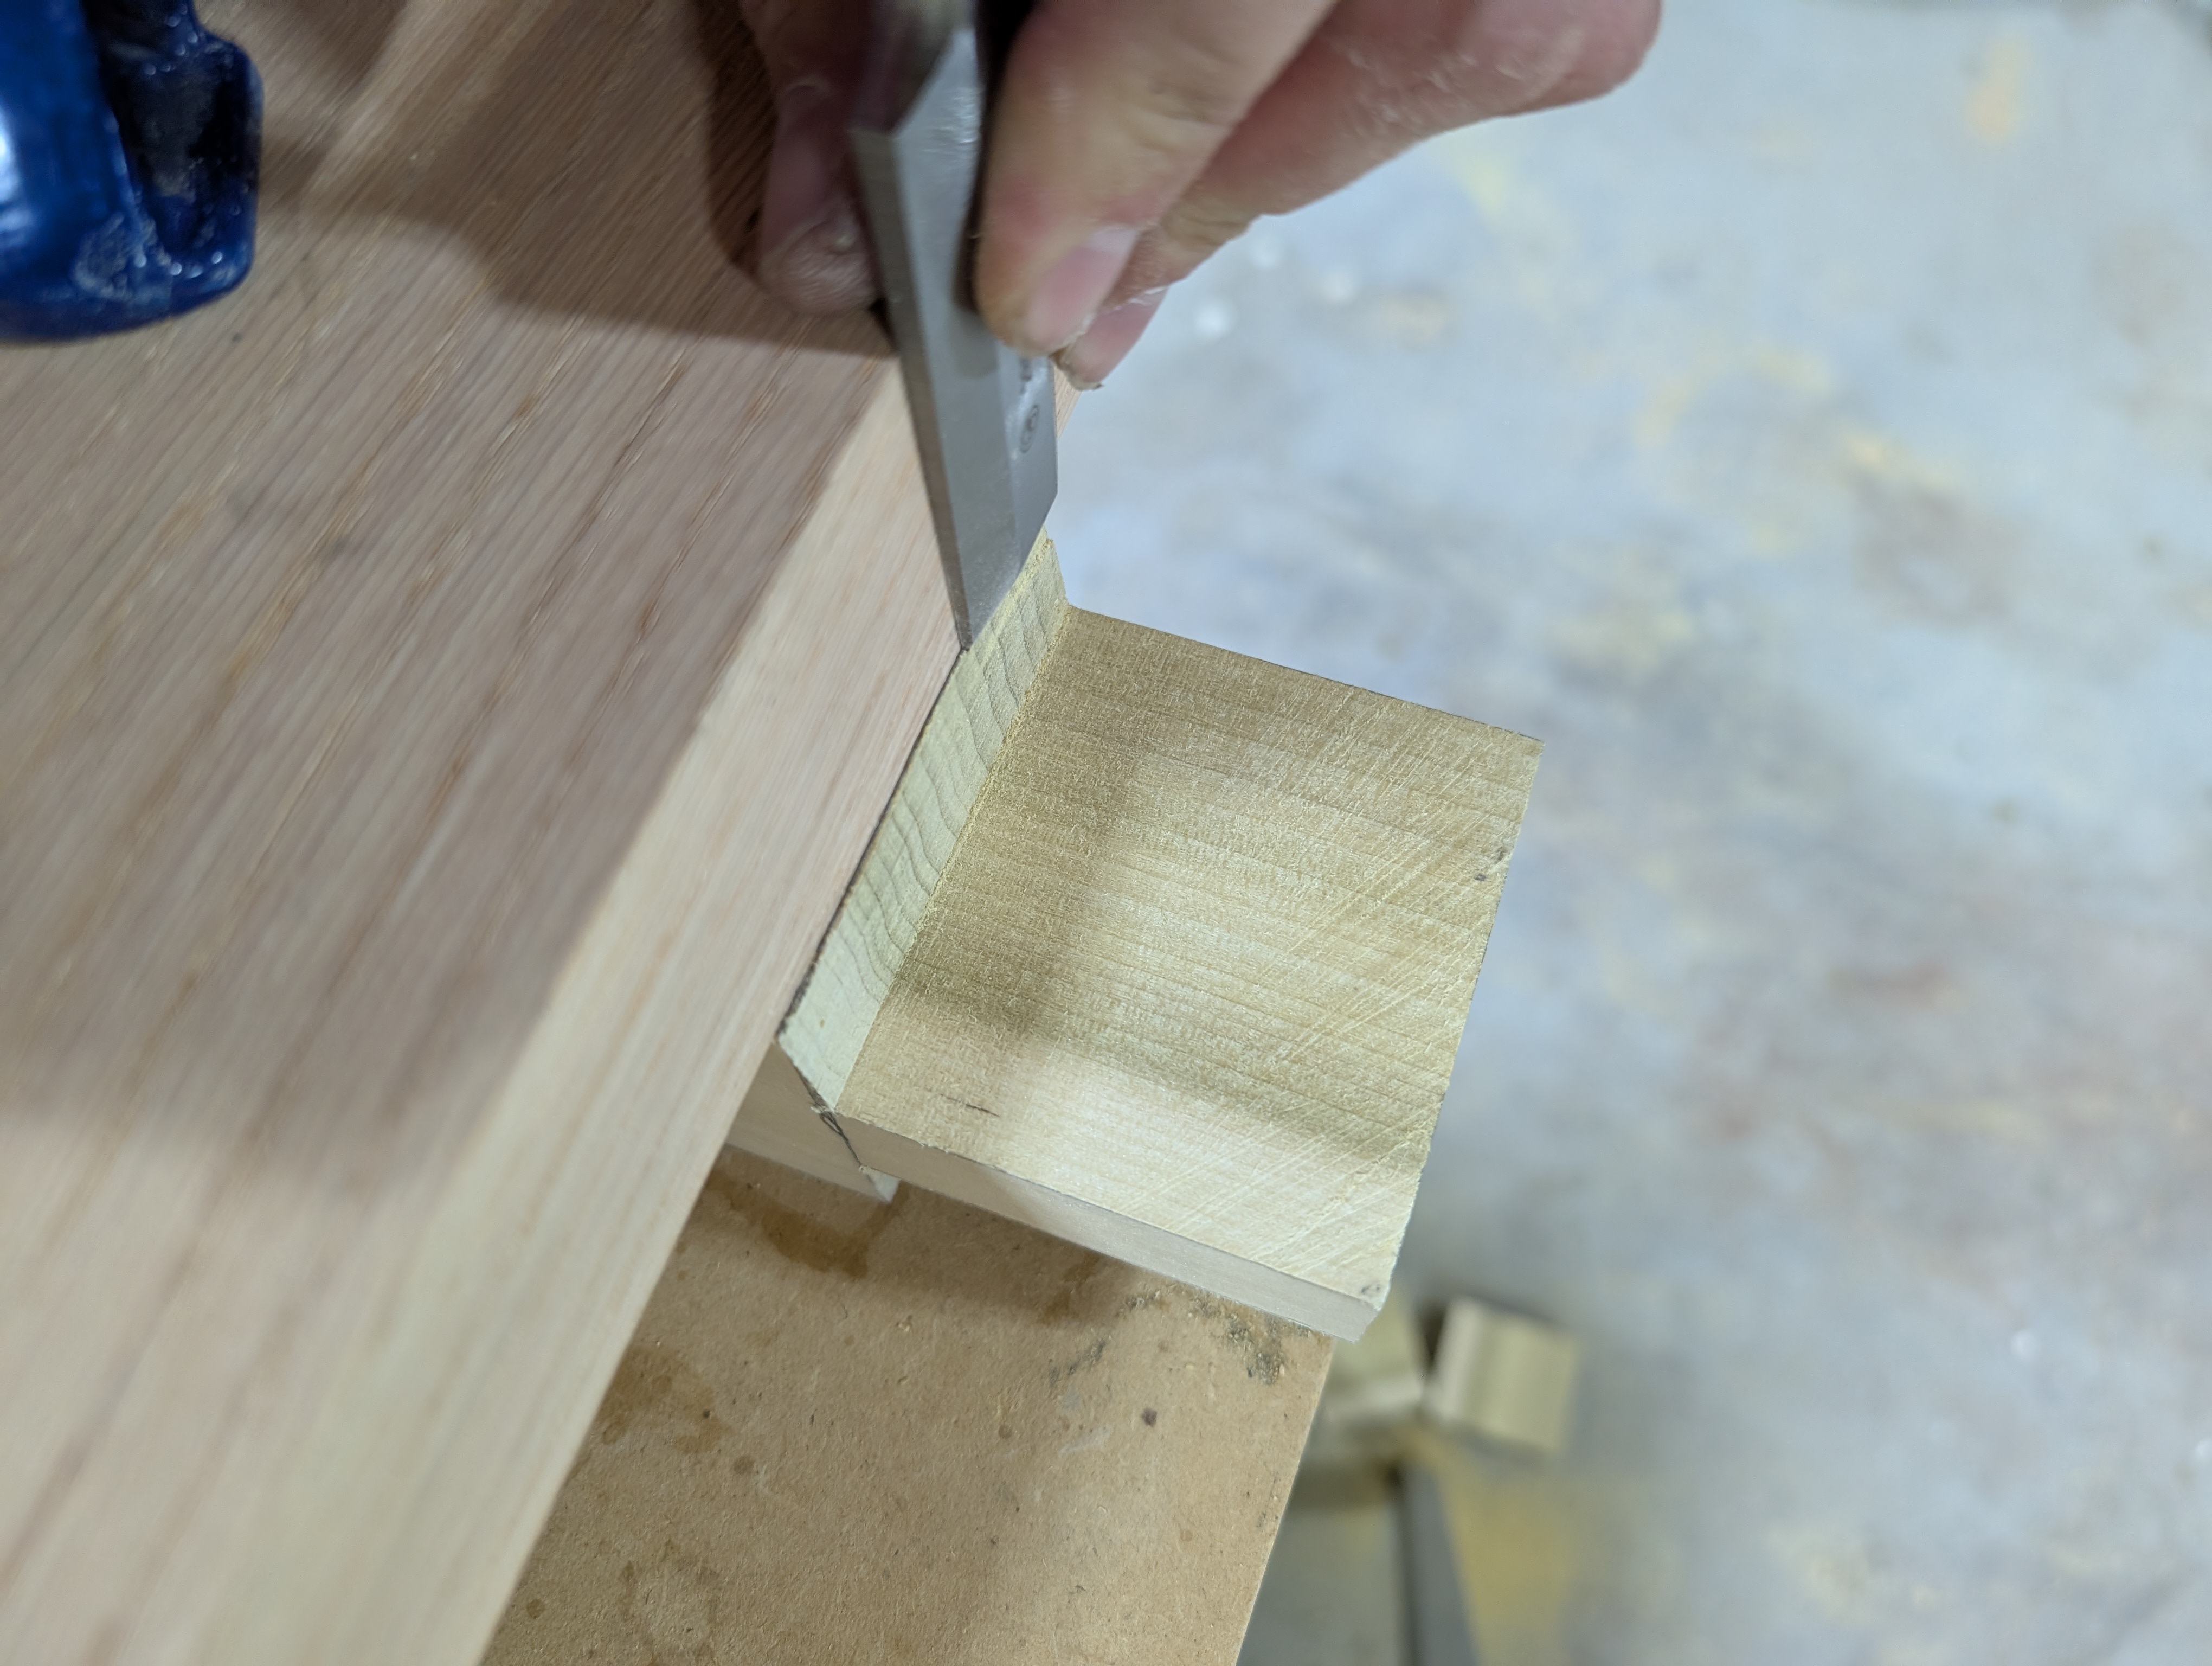
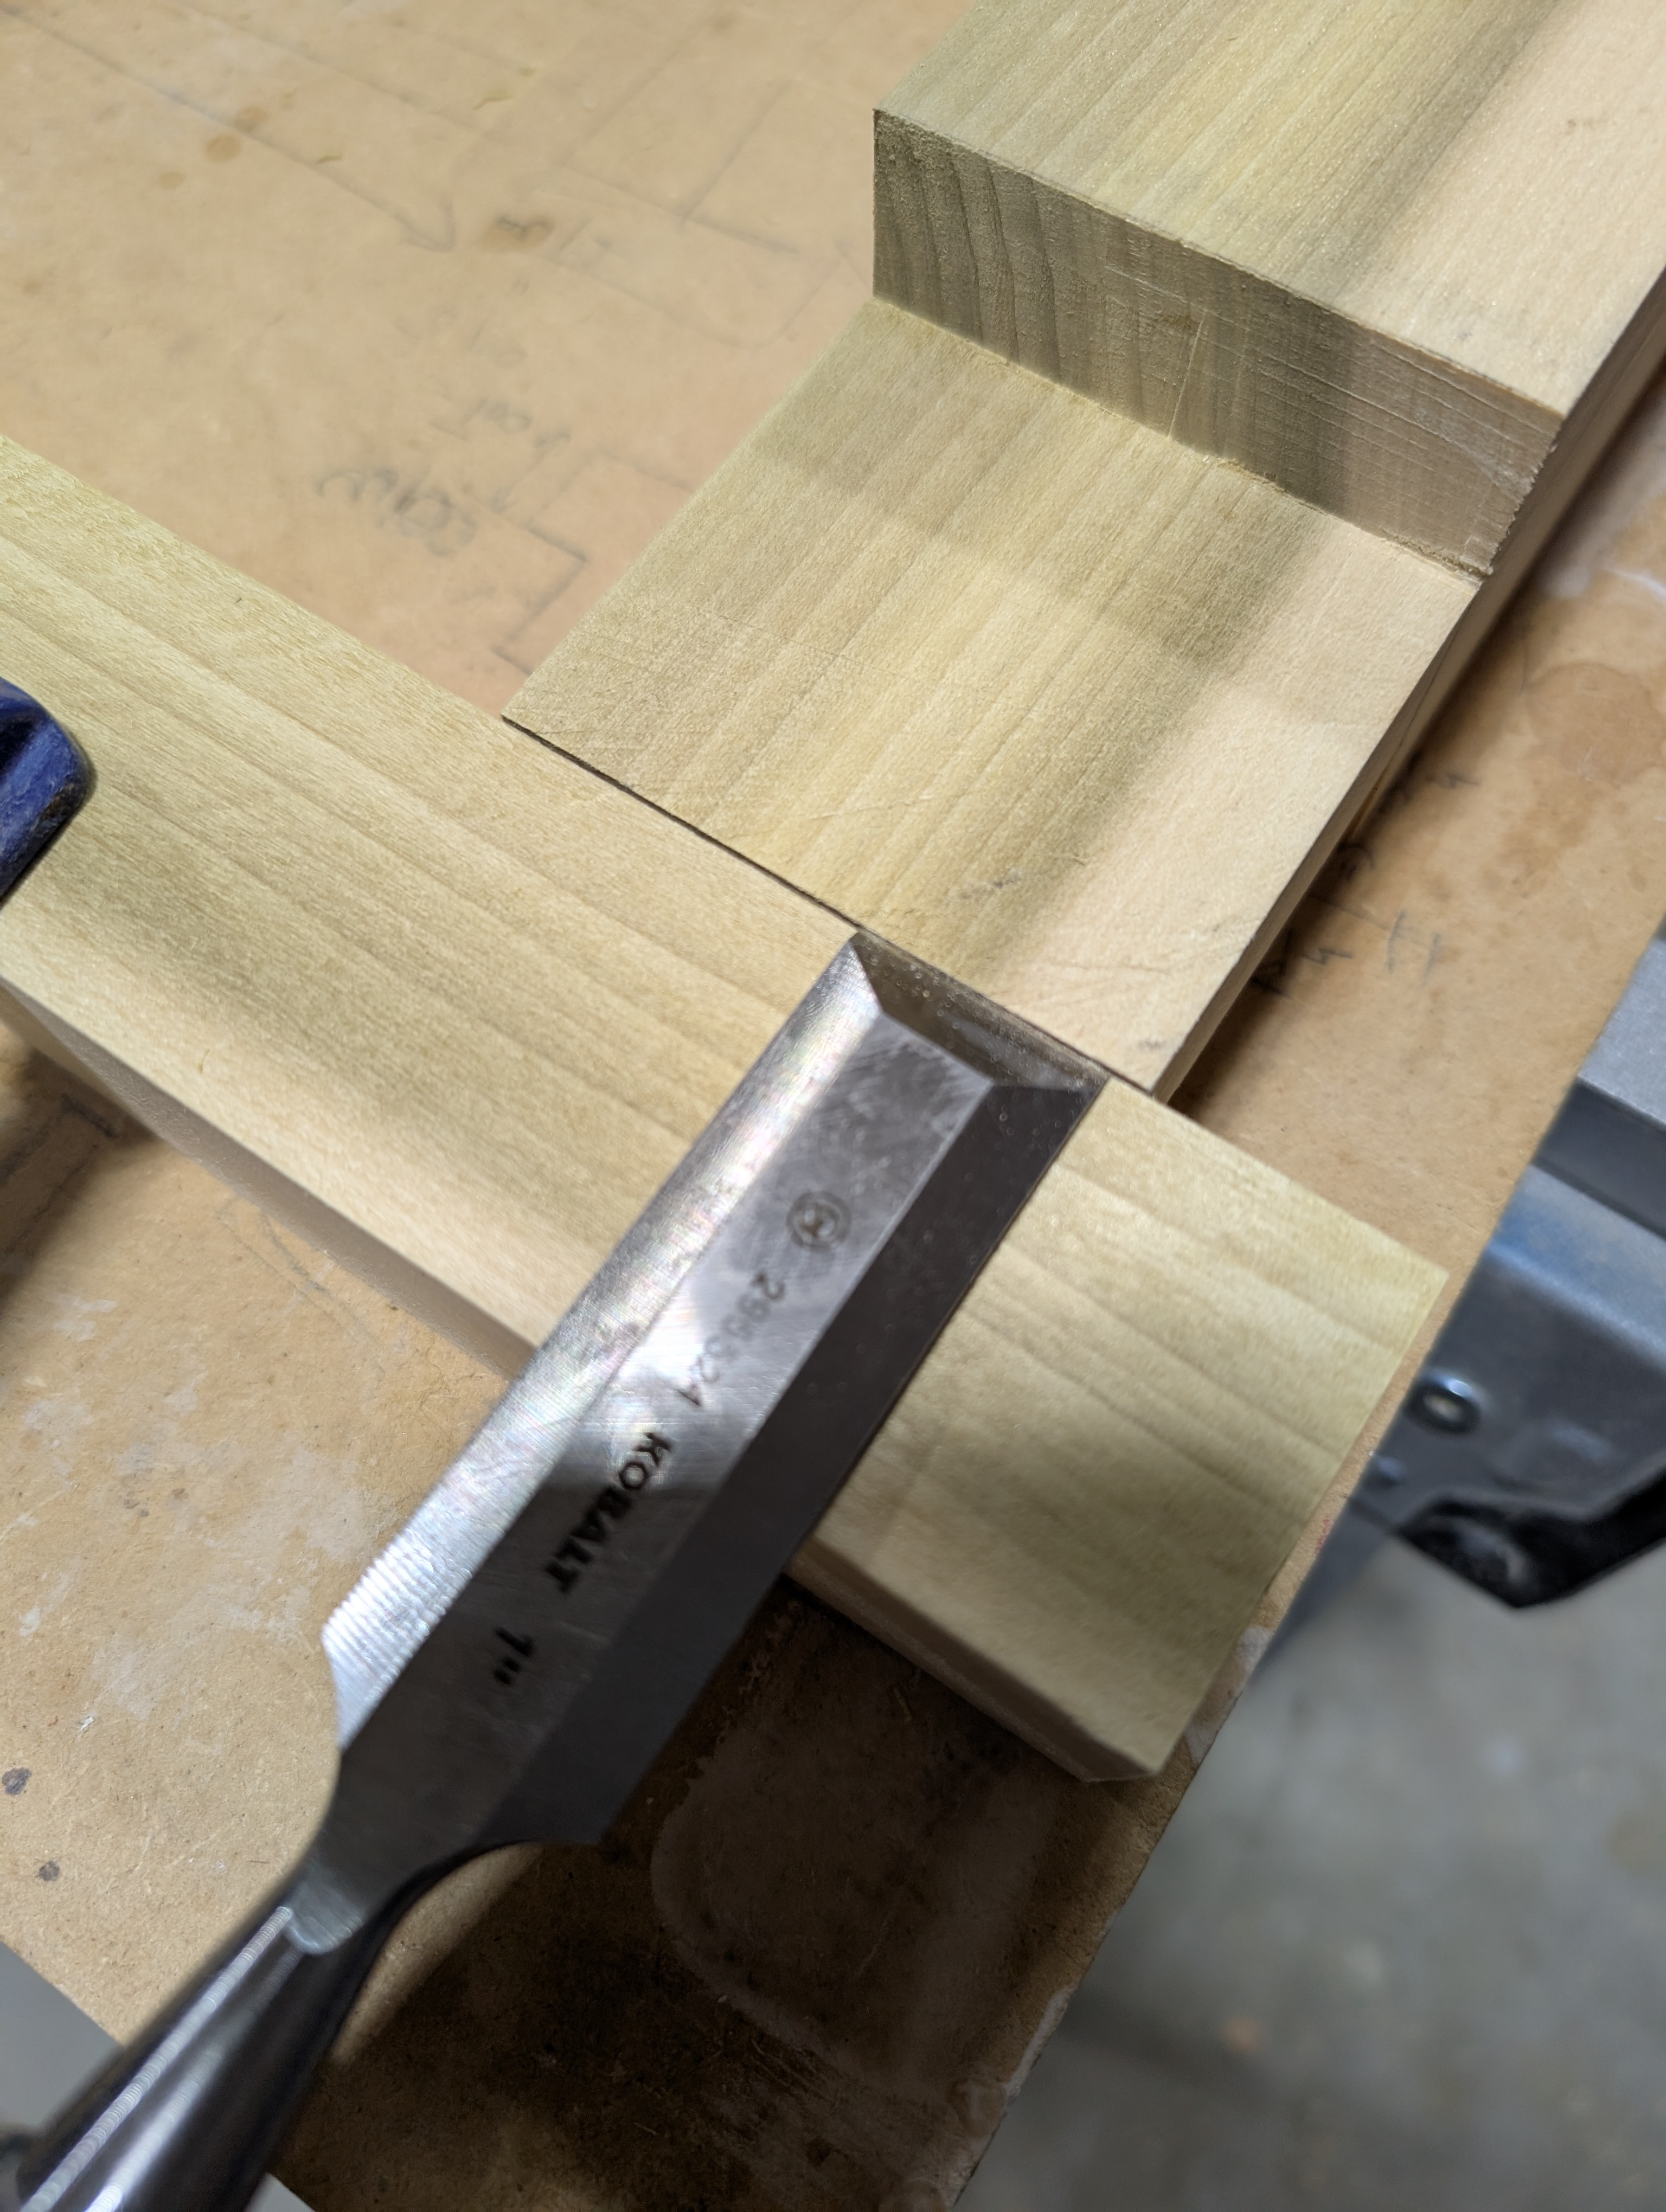
Then I started cutting the tenons using my Japanese saws.
Once the cuts were done, I cleaned them up with a chisel until I had a clean, satisfying tenon.
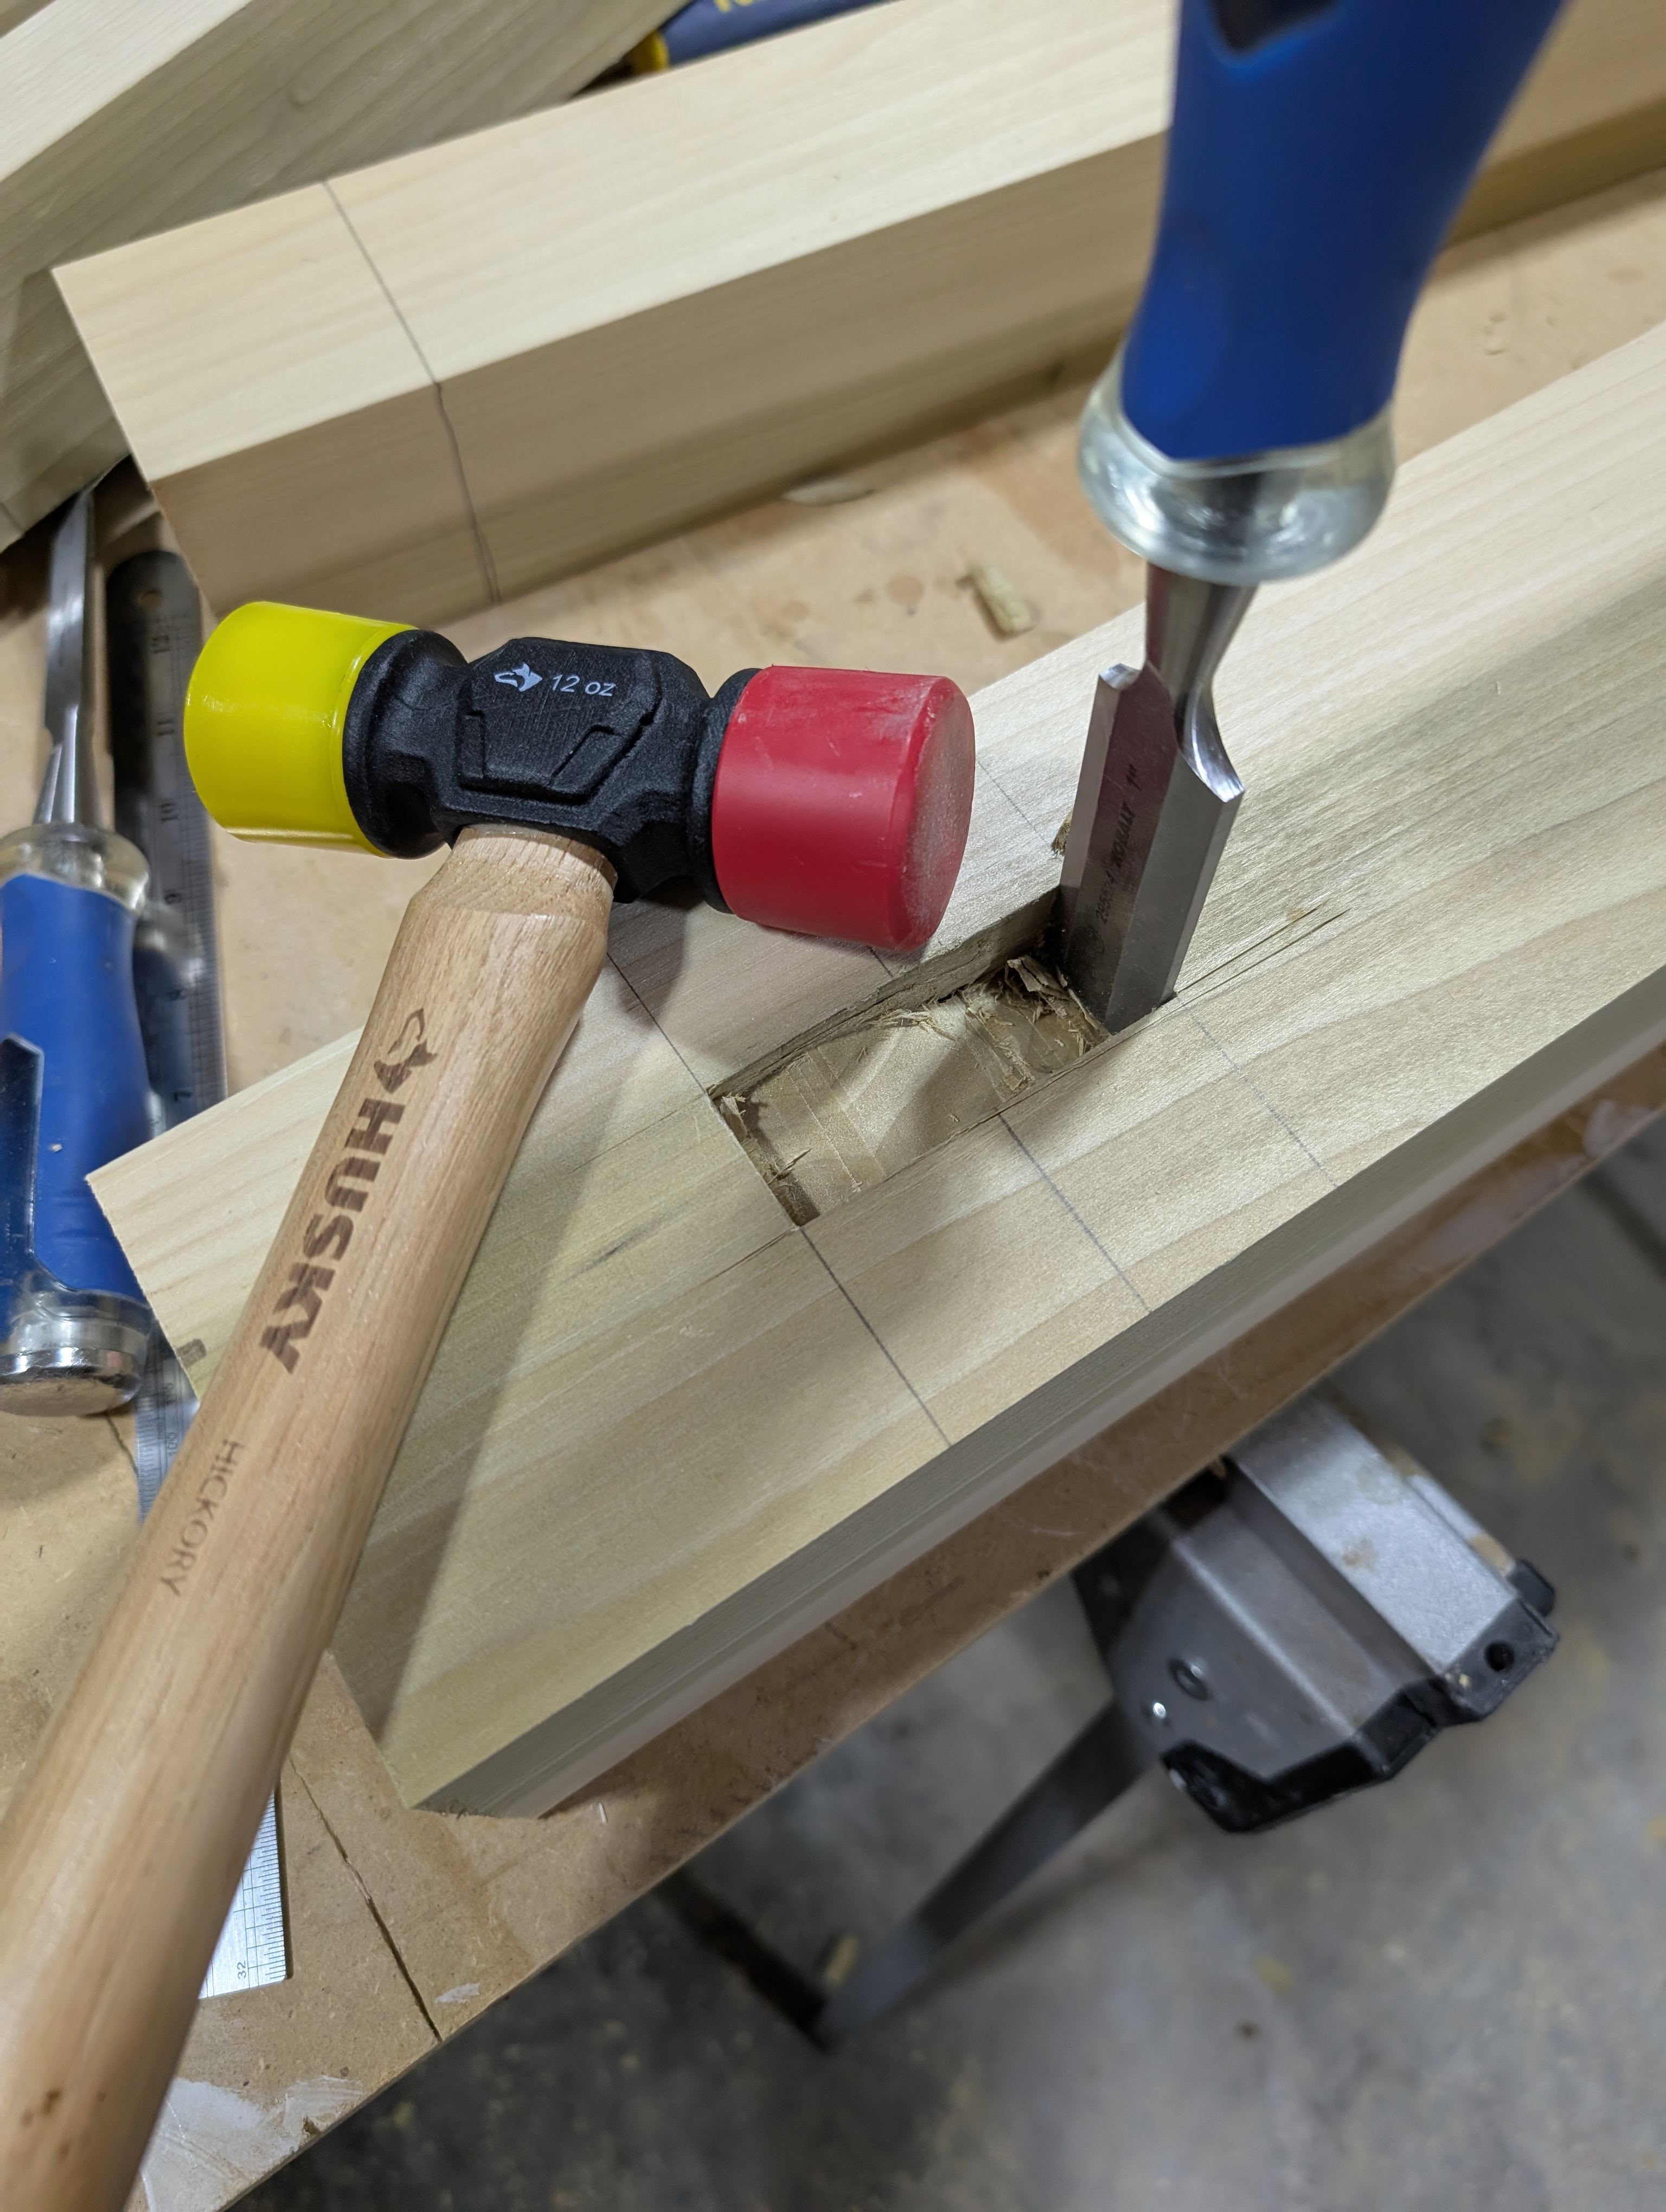
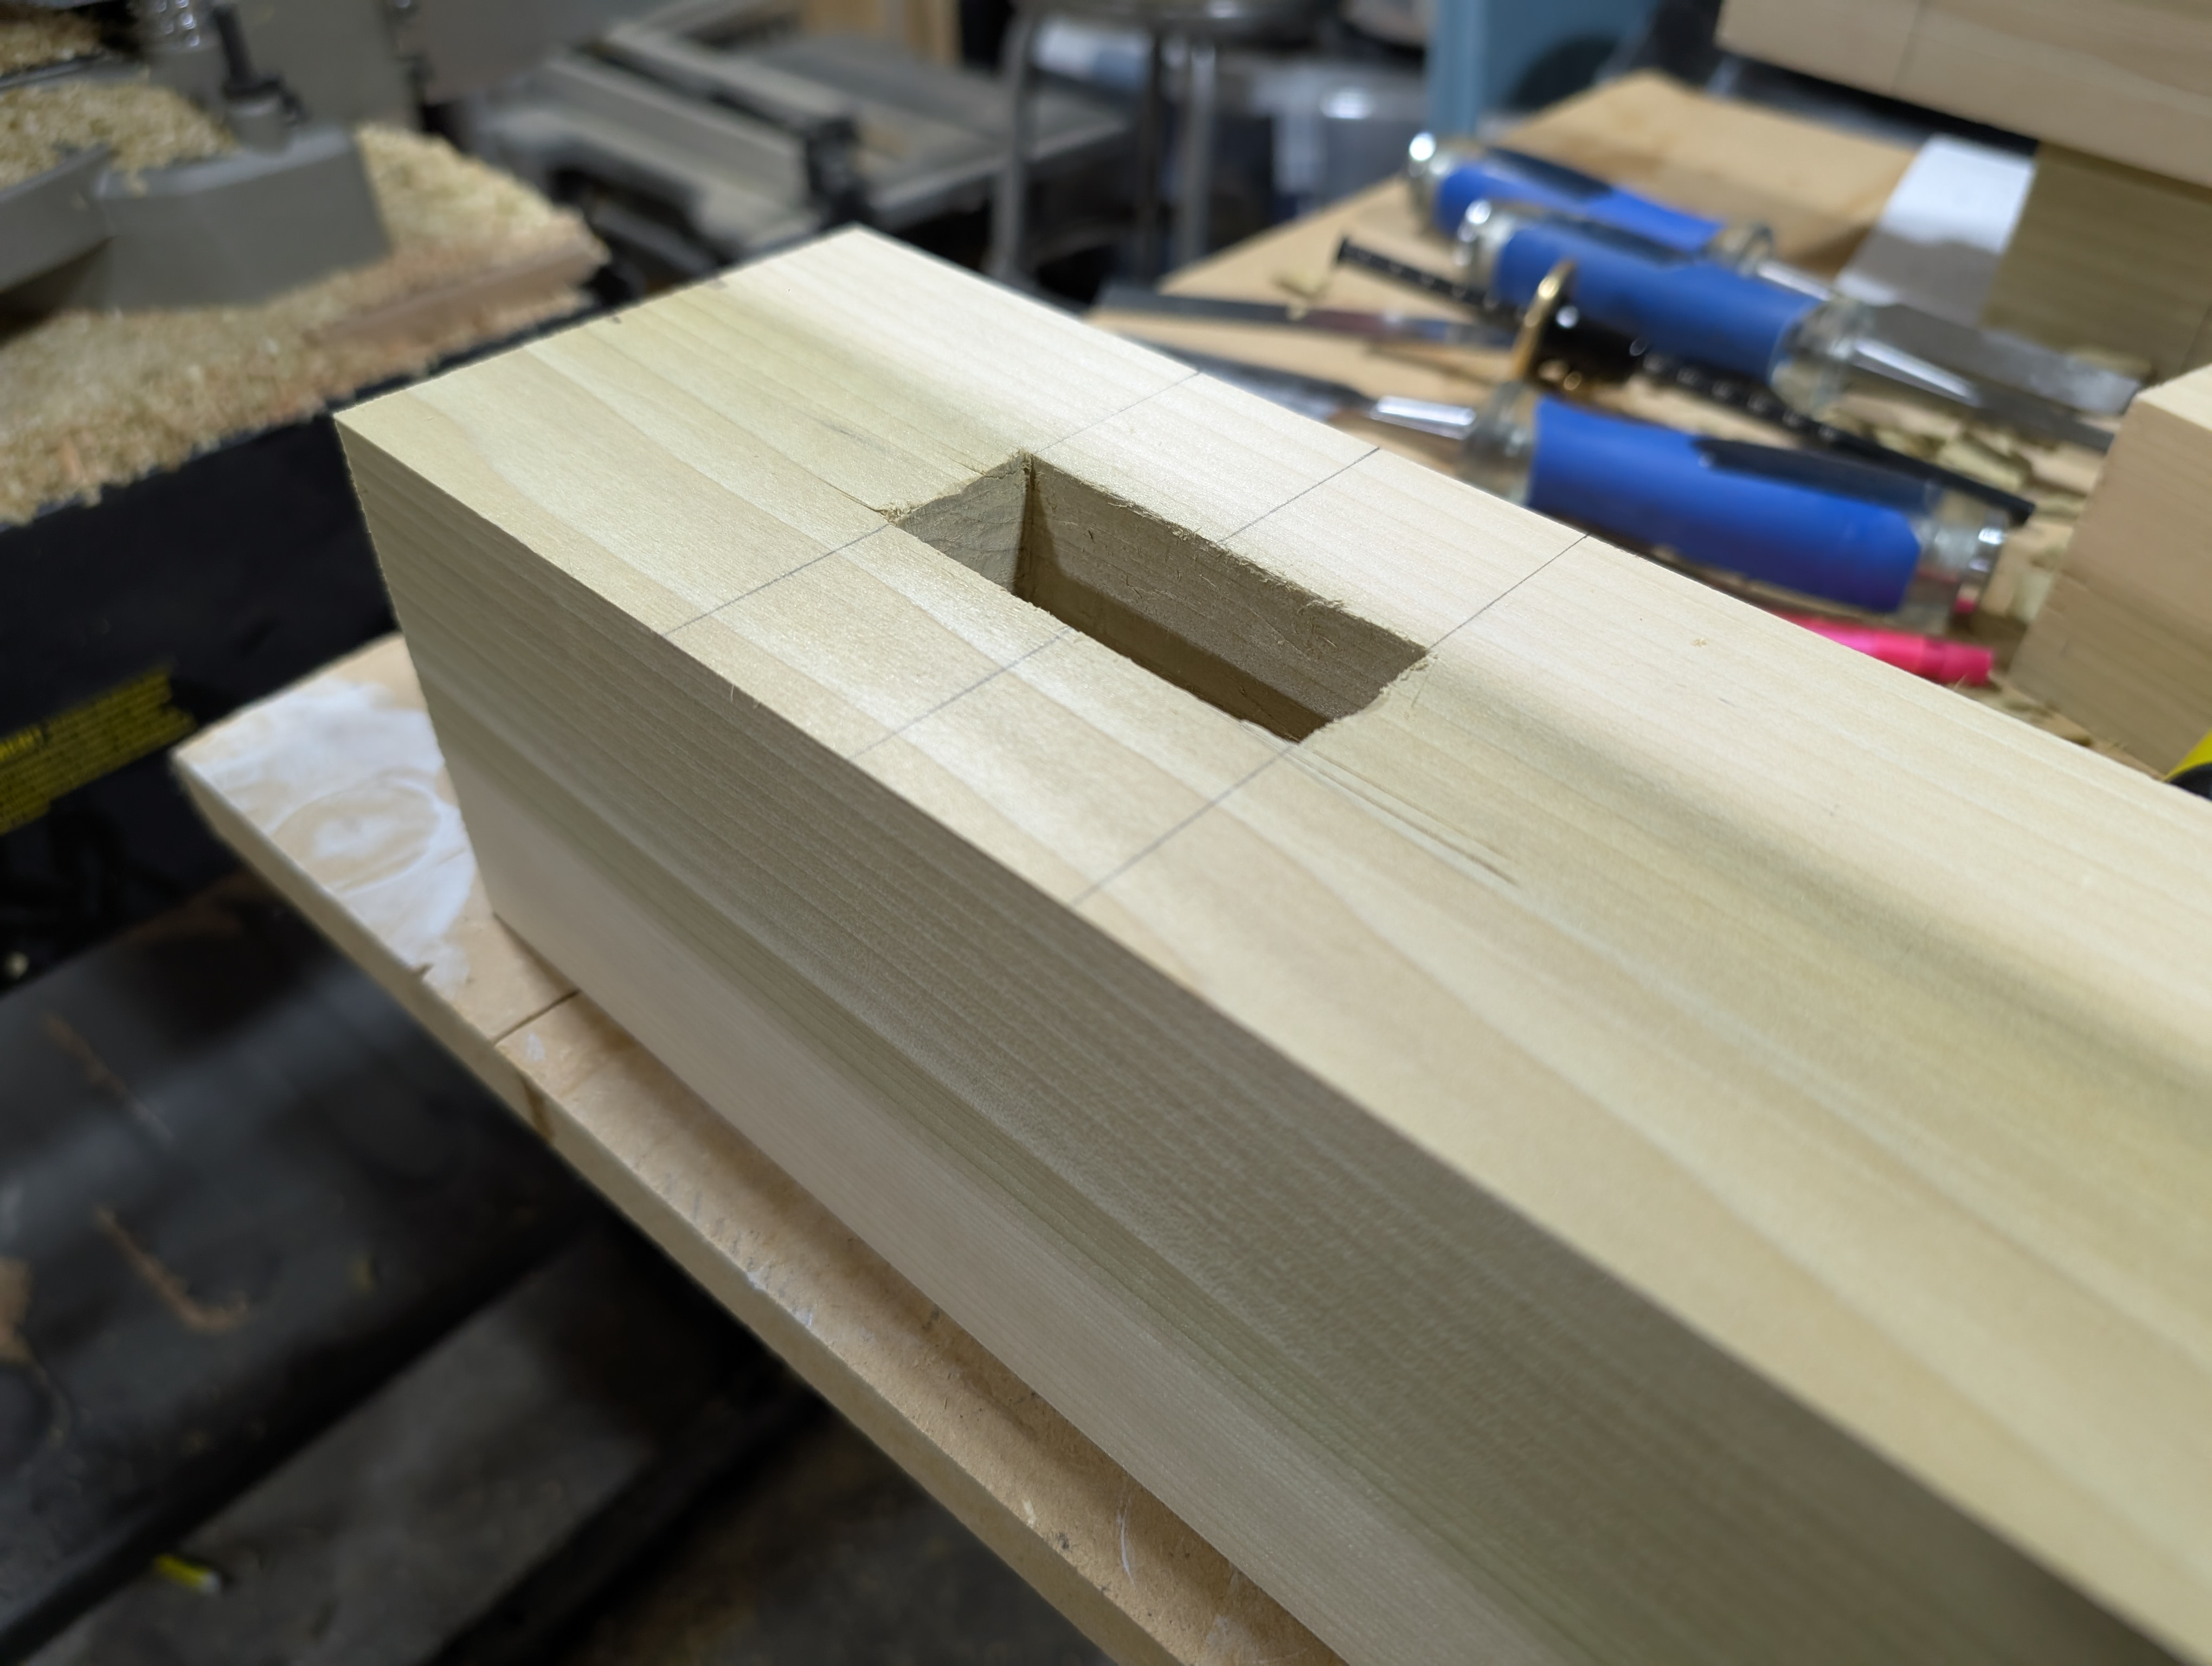
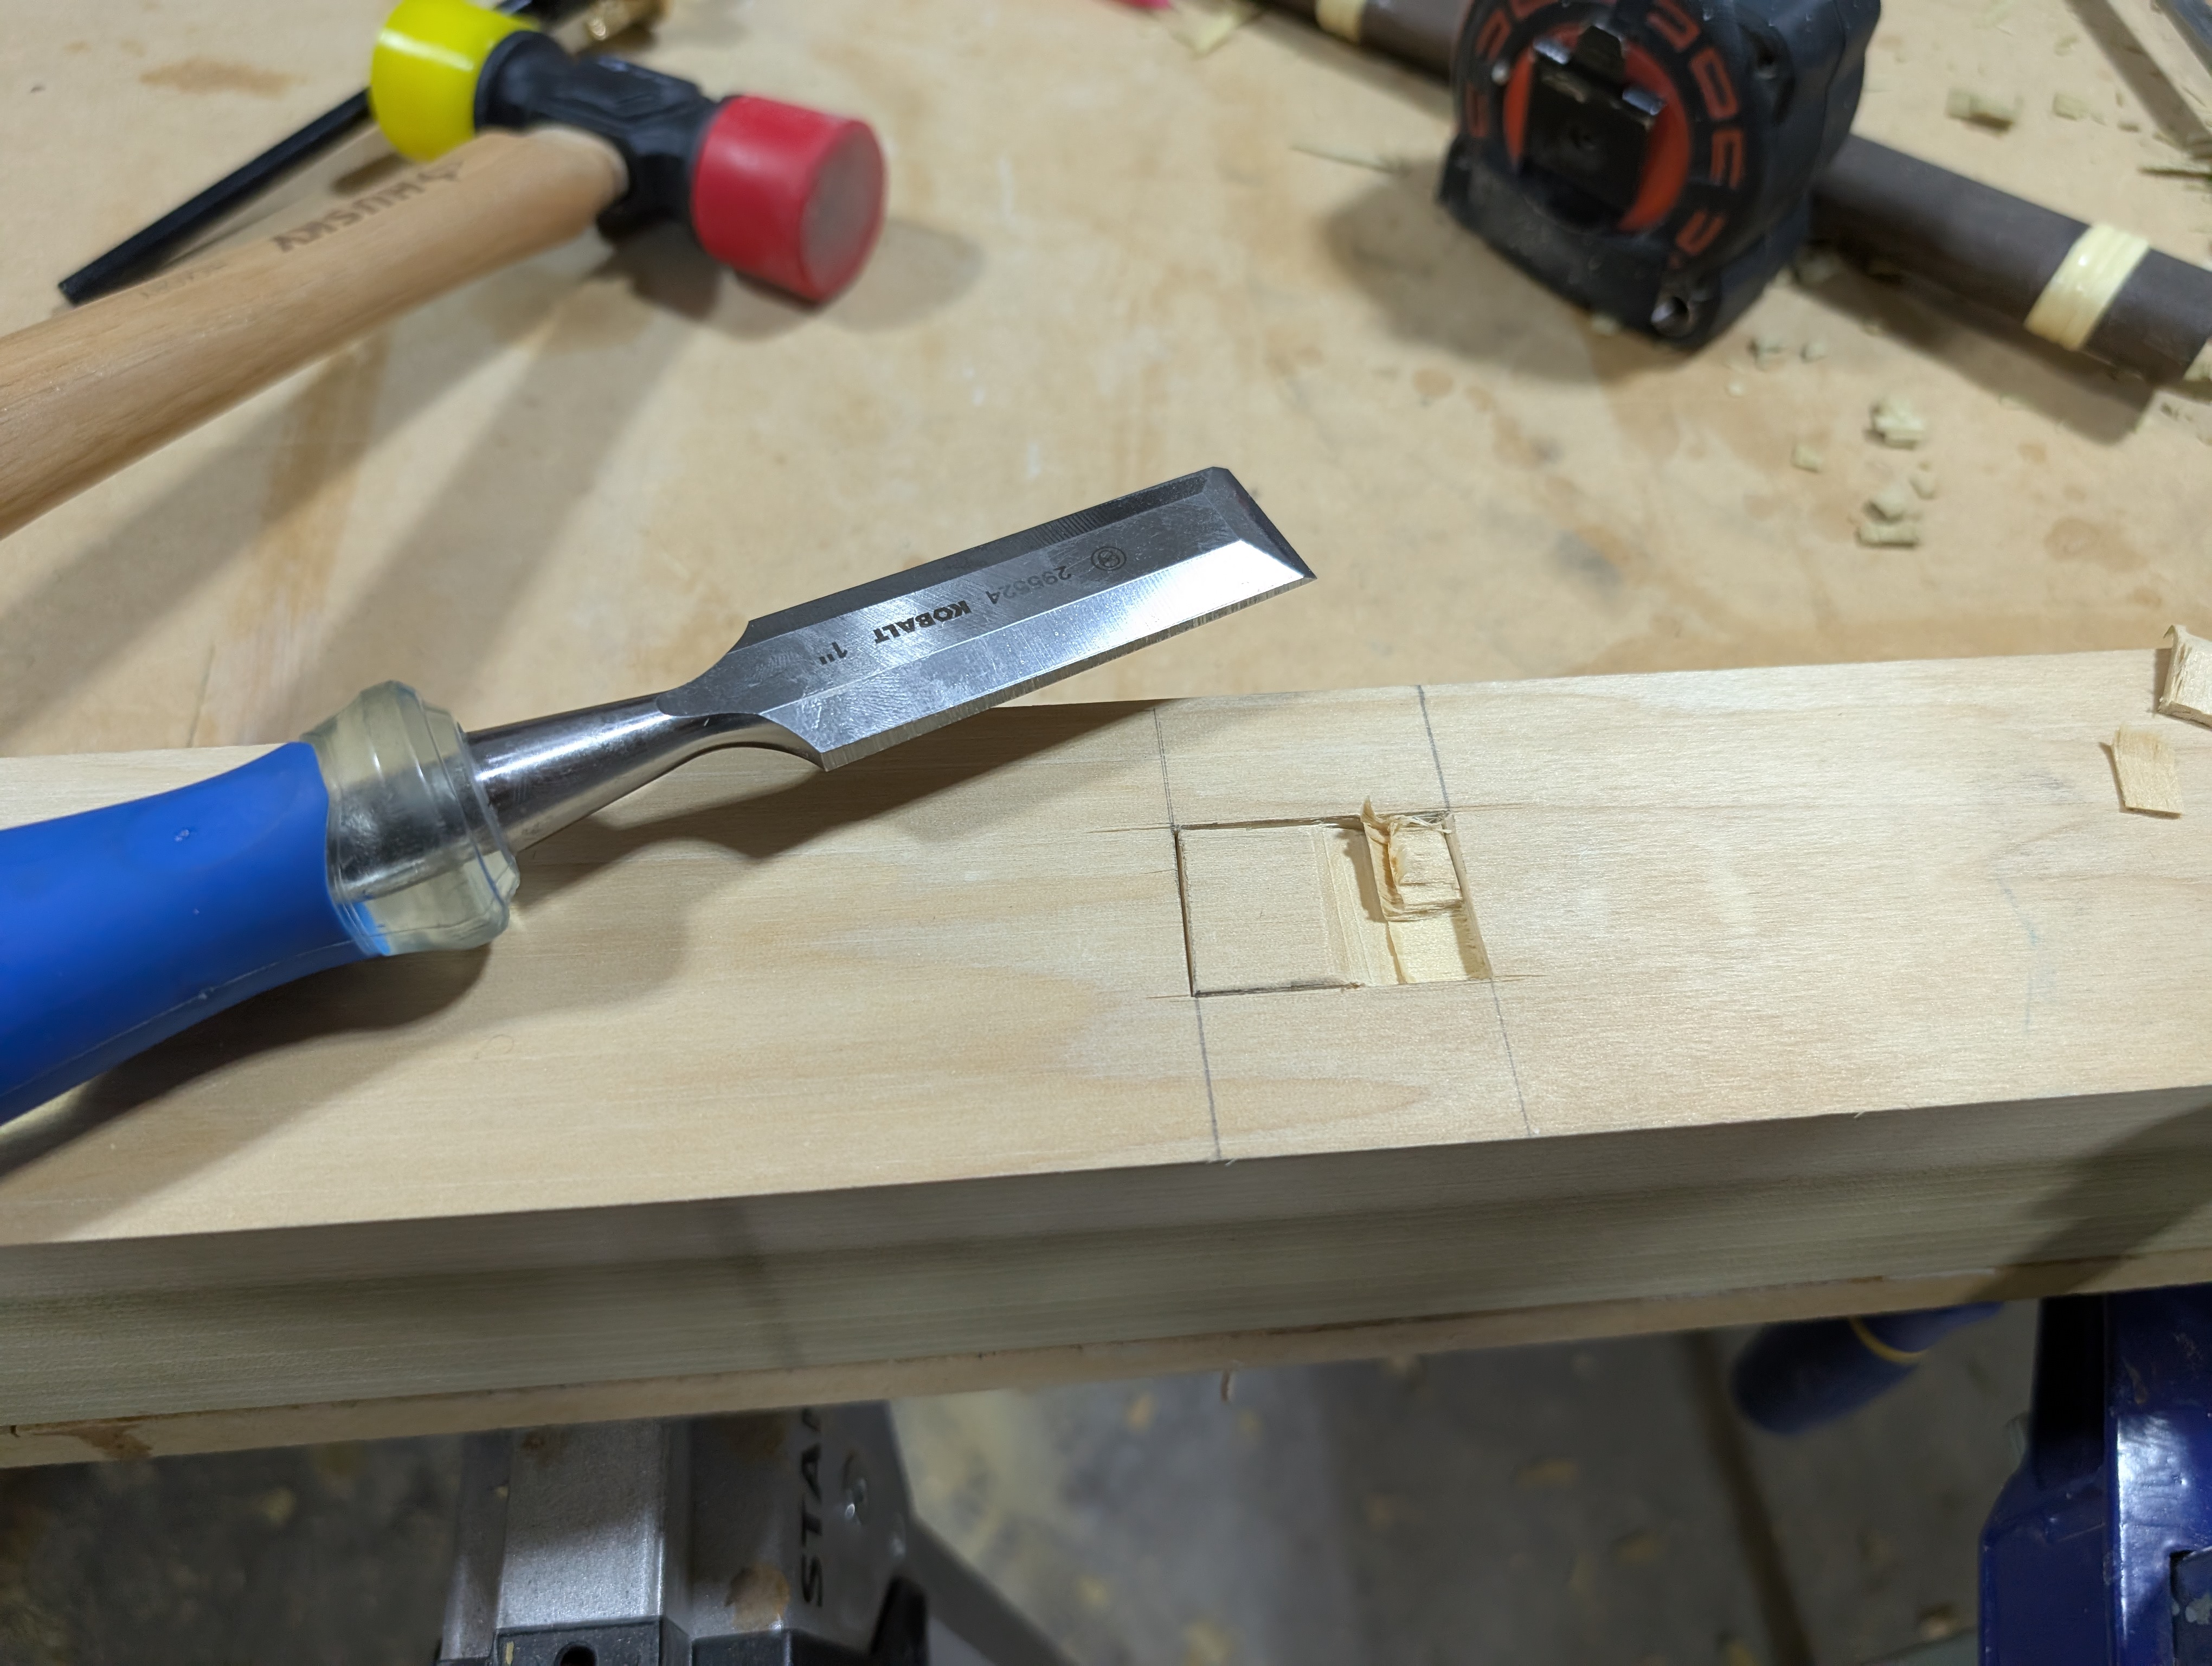
Next, I started cutting the mortises in the top beam. These were chopped directly with a chisel, no drill used here. Just hammer, patience, and a bit of muscle.
Mid-Leg Joinery
After the top joinery, I moved on to the middle mortises in the legs. These will later hold the braces that keep the sawhorse from wobbling.
What’s Next?
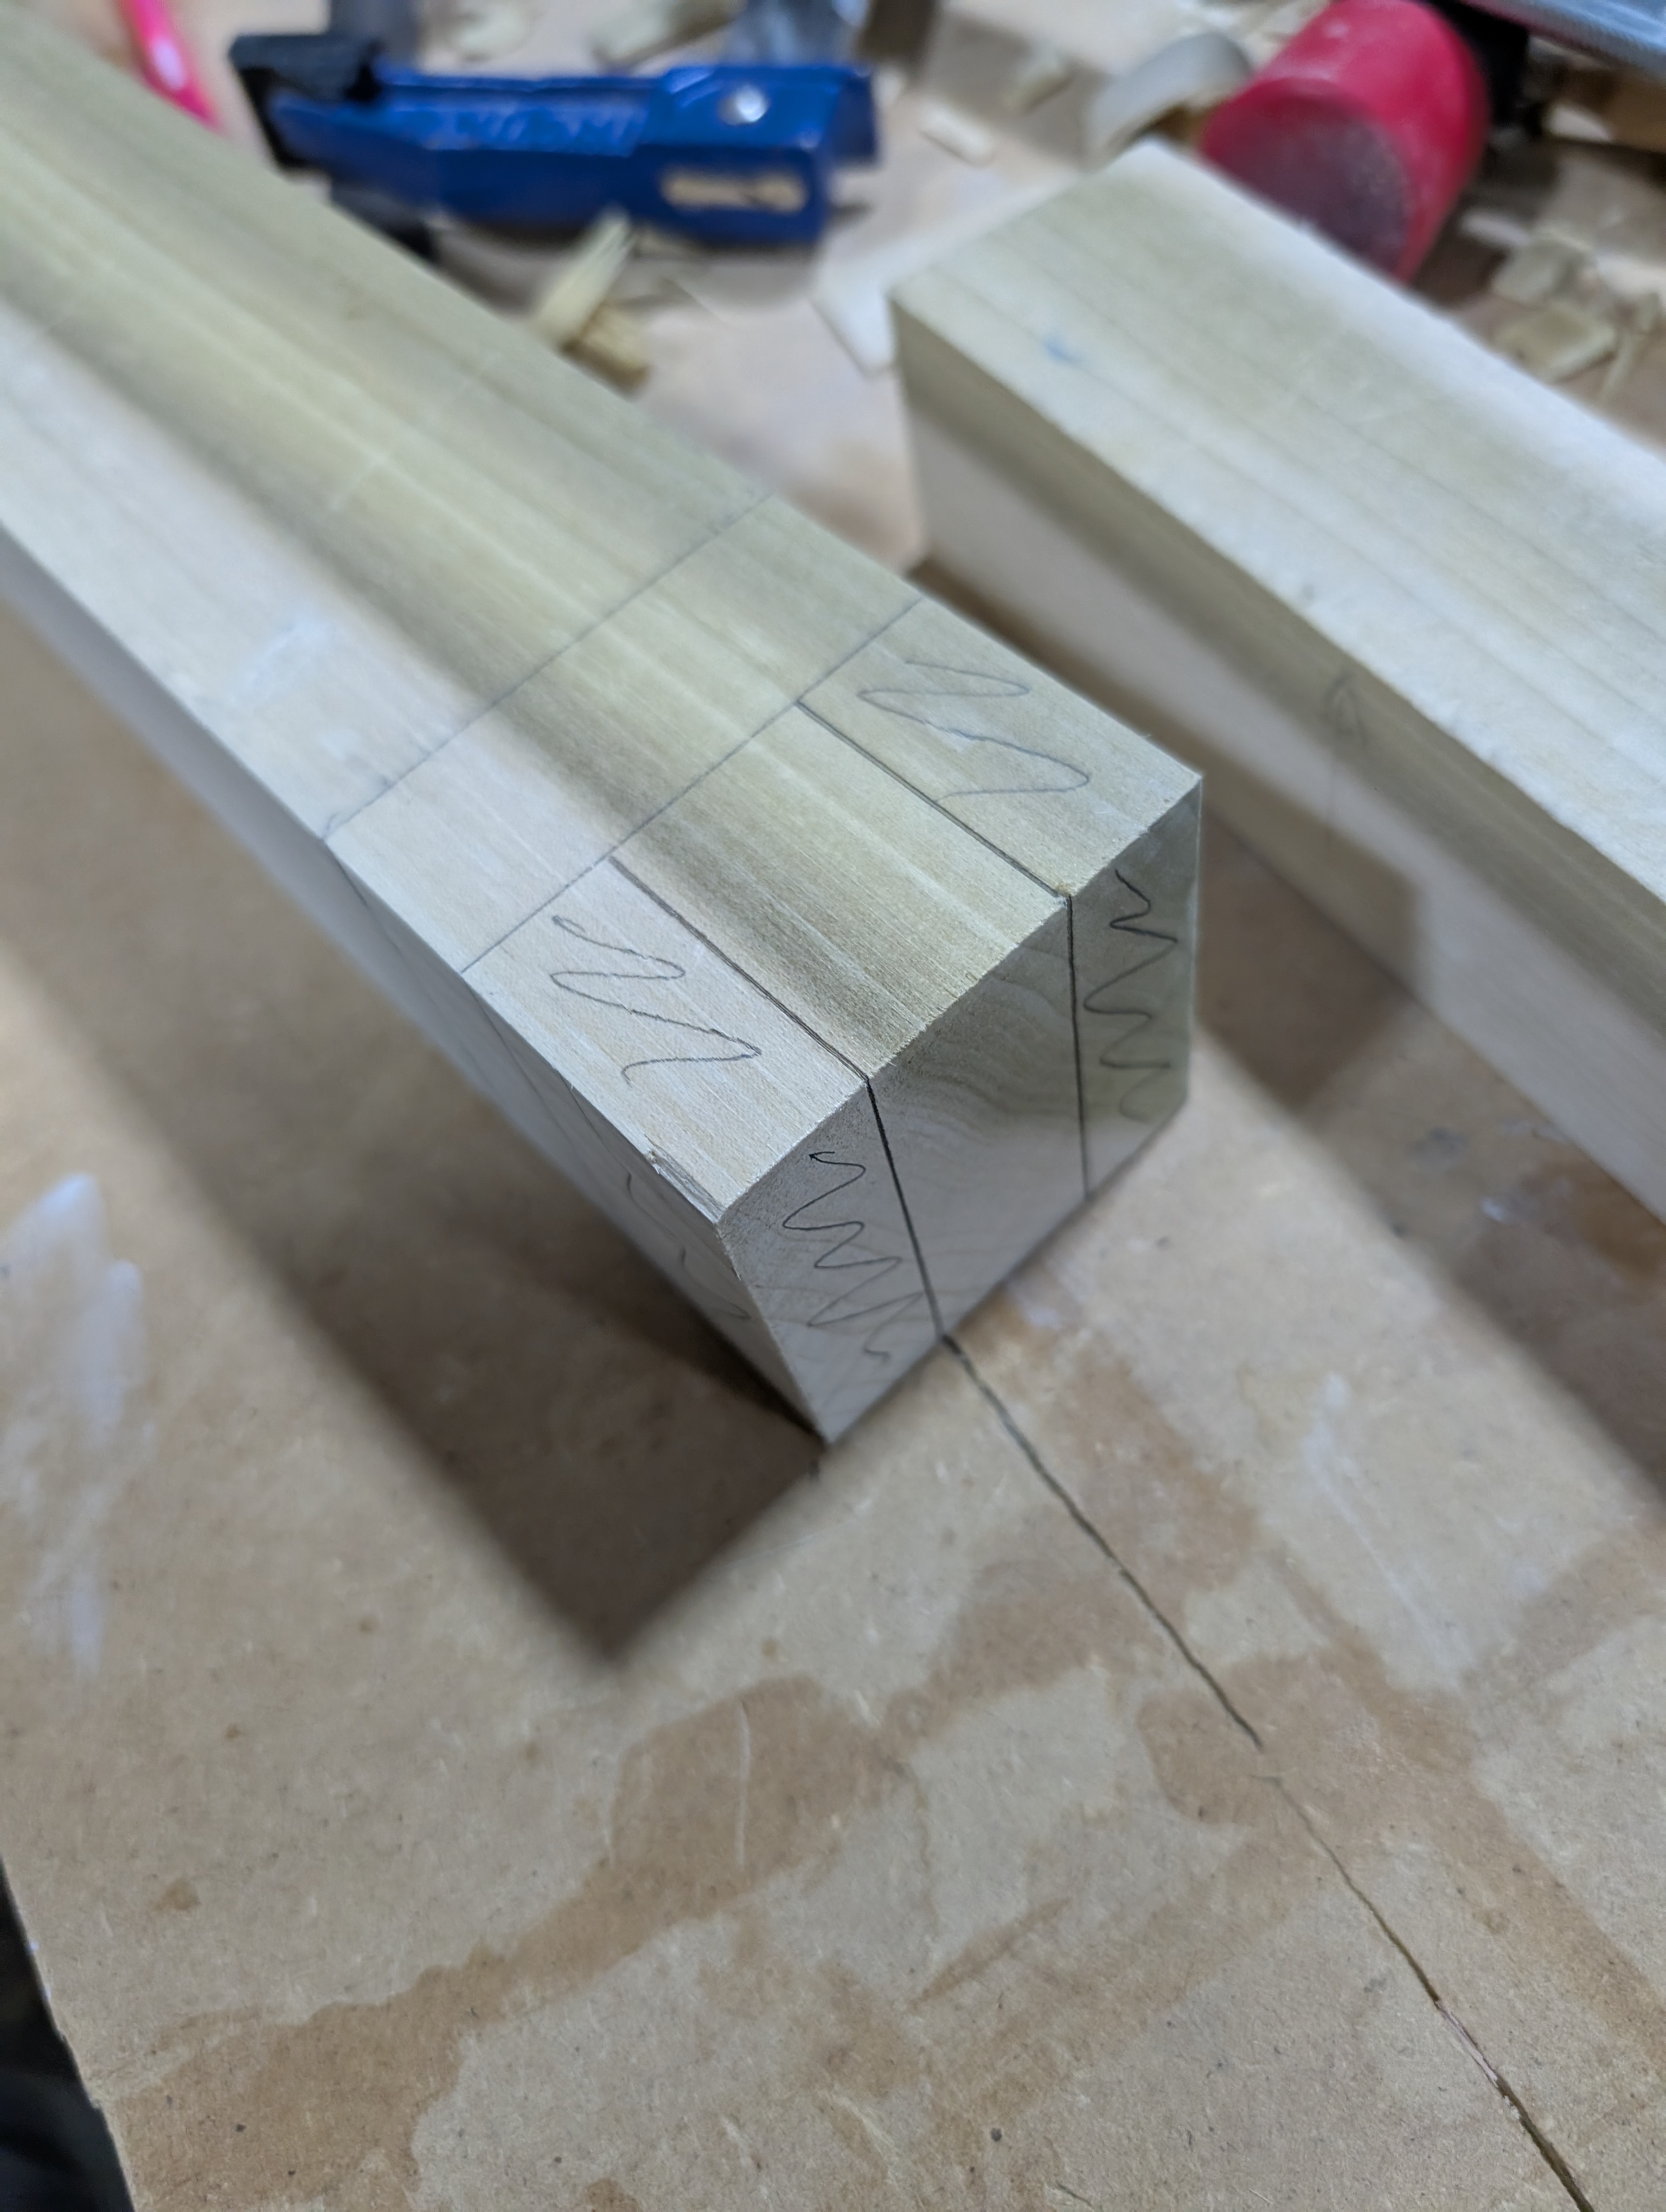
That’s all for this part! Next time, I’ll finish the legs and braces. I’ve already marked them up:
Still haven’t decided between round or square pegs to hold everything together, but I’m leaning toward using walnut for contrast against the pale poplar. It’s going to look sharp.
Stay tuned!
Subscribe via RSS